Gridding is a key cross stitch tip that many overlook. It’s seen as cheating, but it’s actually a time-saving technique. It makes your stitching more accurate and faster.
Grids have been used in art for ages. Artists like Albrecht Dürer and John Constable used them to keep their work precise. This same idea helps you place patterns on fabric accurately.
This article will show you why grids are not cheating. You’ll learn the basics of gridding in CROSS STITCH. Plus, you’ll get tips on using digital tools like Canva and photo editors.
It also covers advanced techniques and how to organize your workspace. You’ll find routines to help beginners improve their counting skills.
If you’re in the United States and want to get better at cross stitch, this guide is for you. It offers practical tips and tricks to make your stitching easier and protect your fabric.
Key Takeaways
- Gridding boosts accuracy and reduces counting mistakes in counted cross stitch.
- Historic artists used grids; using them in CROSS STITCH is a proven, professional approach.
- You’ll learn both hand and digital cross stitch gridding techniques, including Canva and photo editors.
- Organizational tips—like floss labeling and DMC references—save time during long projects.
- Beginner cross stitch stitchers will find practice routines to build confidence and speed.
Why Gridding Isn’t Cheating: History, Pros, and Myths
Some think using a grid is a shortcut that weakens skill. But, this overlooks centuries of serious artists and makers who see gridding as a reliable tool. Once you understand its context, gridding seems like a practical choice for accuracy, scale, or speed.
Historical use of grids and tracing by professional artists
Art history is filled with grids and tracing tools. Albrecht Dürer used measured frameworks to transfer studies. John Constable sketched with careful proportional grids. Chuck Close built monumental portraits square by square.
David Hockney’s research in tracing art history shows that camera obscura and camera lucida helped masters capture precise perspective. These examples prove that working with a grid has long been part of professional practice.
Common myths about gridding and why they persist
One myth says grids equal cheating or prove lack of talent. This belief comes from a romantic idea that true skill means only freehand results. Critics like Kevin Hayler say that purists often dismiss practical methods.
Using a grid does not erase study of composition, tone, or line quality. Over-reliance can slow your freehand growth. Many pros advise mastering fundamentals first before leaning on grids regularly.
Real benefits: accuracy, scaling, and time management
Grids help keep proportions correct, especially for faces, animals, and dense patterns. In counted cross stitch work, grid-based planning reduces costly rework by catching errors early. For commissioned projects, gridding speeds delivery because you can scale an image reliably by matching square ratios.
The method also trains your eye; as you repeat cross stitch techniques within a grid, you internalize proportions and counting habits. This improves freehand accuracy over time.
Use gridding as a tool that fits your goals. If you aim for precision, fast turnaround, or consistent scaling, adopt the grid. If you want to build expressive freehand skills, treat gridding as a training aid rather than a crutch. The choice rests on purpose, not morality.
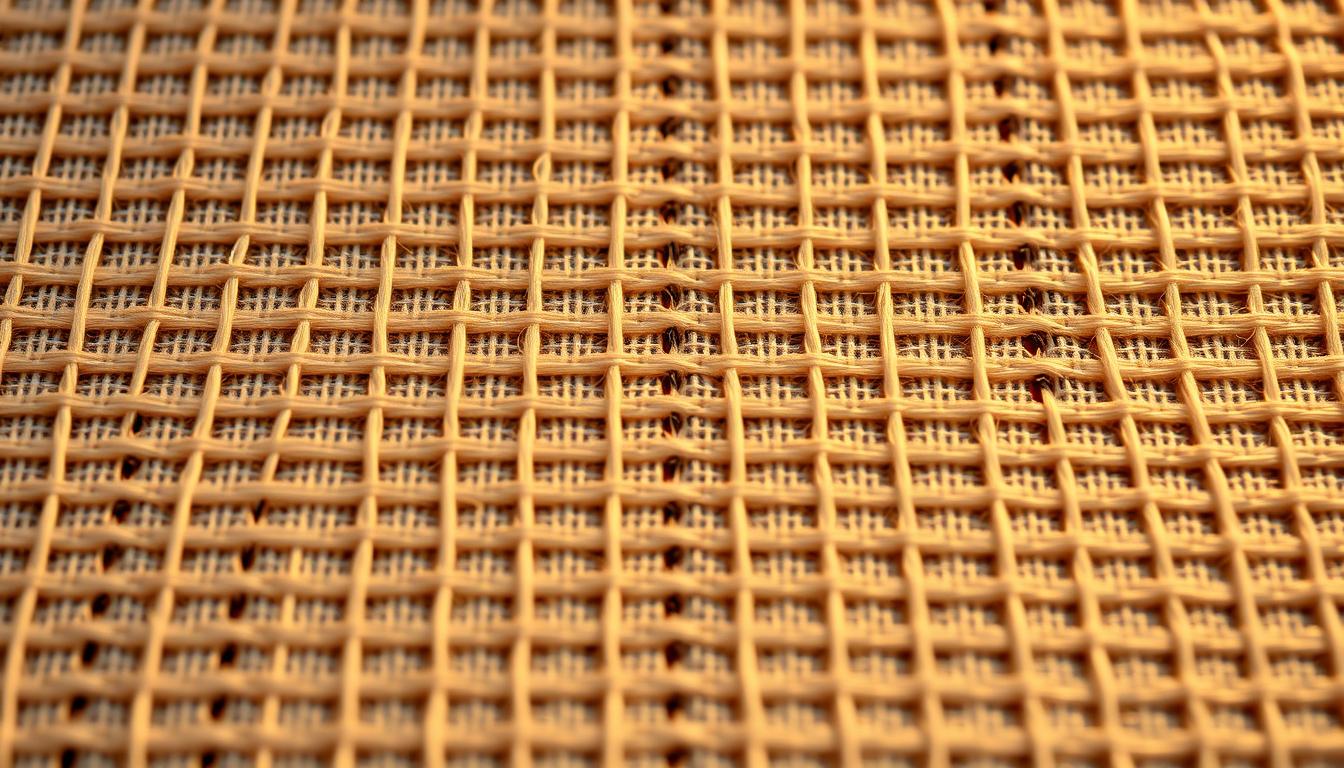
CROSS STITCH Gridding Basics: What You Need to Know
Gridding makes starting a counted cross stitch project easier. Your fabric already has squares. A visible grid helps avoid mistakes and saves time.
Choose tools that fit your work style. For physical gridding, use a straight-edge or T-square, water-soluble pens, and removable tape. Basting thread helps guide you without damaging the fabric. A hoop keeps your fabric taut.
Digital tools can also help. Canva and Adobe Photoshop let you add grids to patterns. Apps like Drawing Grid or Artists Grid Tool offer precise control. Keep DMC floss and a kneadable eraser nearby for color checks and cleaning.
The right grid size depends on the pattern. Use 10×10 blocks for quick reference. For detailed designs, mark every square. For small motifs, use larger grid blocks.
Scaling patterns? Keep proportions the same. Double grid increments if you scale up. This ensures your design looks right on different fabrics.
- Cross stitch tips: Test pens on fabric before marking.
- Cross stitch tools: Use a lightbox for clean transfers.
- Counted cross stitch: Double-check your first grid intersection to avoid errors.
Common Cross Stitch Mistakes When Gridding and How to Avoid Them
Gridding helps keep large pieces accurate and speeds up stitching. But, errors can still ruin hours of work. Here are the most common mistakes and how to avoid them.

Misaligned grids and their visual consequences
When your reference grid doesn’t match the fabric grid, things get off. A small mistake in one corner can make an eye look wrong, a roof crooked, or a shoulder off-center.
Always count squares across and down before starting. Use the same ruler or T-square for both paper and fabric. This keeps measurements consistent. Check alignment at the design’s center, where small errors are more noticeable.
Over-reliance on tracing or pre-gridded prints
Tracing or using pre-gridded charts can lead to mistakes. Traced lines may force you to repeat errors. Your work might feel stiff or lack natural flow.
See grids as a guide, not a rule. Use your eye to adjust things: move a limb, soften a hairline, or change shading as you go. Develop basic freehand skills to improve your work, not just copy mistakes.
Permanent marks and fabric damage
Pressing too hard with ink or using permanent markers can damage fabric. Marks that bleed make color placement hard and may not wash out. Over-tightening hoops can also change fabric count and warp the design.
Use water-soluble pens, light basting thread, or erasable pencils for temporary lines. When basting, use gentle tension and avoid crushing threads. Test a pen on fabric first, on an unseen scrap, to avoid surprises.
Smart backstitching techniques at the end can fix small mistakes. These finishing moves can save a piece without redoing rows. Keep reliable embroidery hacks ready to fix issues without stress.
Step-by-Step: How to Grid Correctly for Cross Stitch Projects
Start by understanding your pattern’s center and orientation. Good preparation includes printing a clear chart and checking the legend. Mark 10×10 blocks or your chosen grid size. Count squares to confirm the stitch totals before starting on fabric.
Preparing your pattern and counting squares
Place the chart flat and mark the center lines. Use a ruler to draw faint guides around major motifs. If resizing, calculate the new square ratio so each printed square equals one stitch. Numbering or lightly shading 10×10 blocks helps locate motifs during stitching.
Transferring a grid to fabric: techniques that work
For a removable option, baste long temporary lines every 10 stitches in contrasting thread. This method lets you work confidently then remove lines when finished. For marks that wash out, use a water-soluble or air-erasable fabric pen and test it first. Use a lightbox or a bright window with the pattern beneath thin fabric to trace accurately.
When tracing is hard, print overlays or use acrylic templates to transfer gridlines. Digital print-on-fabric services are available for large, complex pieces. But consider the cost against the permanence of printed grids. Each method supports counted cross stitch techniques by keeping stitch counts precise and repeatable.
Working square-by-square without losing color harmony
Work one square or block at a time to reduce counting errors. Keep a duplicate pattern and mark progress as you finish each block. Stitch larger color areas across adjacent squares in sequence to preserve shading and transitions. This approach maintains smooth gradients and consistent tension across the design.
Organize threads with labeled bobbins and a floss card for quick color changes. If you hop between noncontiguous squares, use your marked copy and a needle minder to keep place. These cross stitch tips help you stay accurate and keep the overall piece balanced while following step-by-step cross stitch methods.
Digital Gridding and Tools to Speed Up Your Workflow
Digital tools save a lot of time by eliminating the need for constant measuring. They help you create precise overlays that fit your cross stitch patterns perfectly. You can then print or trace them onto fabric, keeping your work organized and colors in order.
Using photo editors and Canva to overlay precise grids
First, size your pattern to fit the canvas you have. In Canva, upload your image and add a grid from Elements or a PNG grid. Adjust the scale until the squares match your chart. Then, download as PNG or PDF for printing.
Canva Pro offers more features like high-res PDF export and resizing tools. This is great for detailed patterns and matching complex color keys.
Apps and templates for repeated use
Choose a reliable grid app like Drawing Grid, Artists Grid Tool, or CopyIt for quick overlays on tablets. Apps like Procreate and Paper by FiftyThree let you draw a grid once and duplicate pages. They also keep templates for future charts.
Make a set of printable templates in 10×10 and 5×5 sizes, plus custom scales for your fabrics. Store them as PNGs or PDFs for quick printing, tracing, or layering in your grid apps. This saves time and keeps your cross stitch organized.
Lightbox and tracing techniques for hybrid workflows
Use a lightbox to transfer a printed digital grid onto tracing paper, then place it over fabric to mark intersections. For thin fabrics, trace directly. For thicker or textured cloth, trace onto tracing paper or acetate and baste the grid through the layers.
Combine digital overlays with washable pens or temporary basting for a hybrid method. Print the digital grid, align it on the lightbox, and use the printed guide to baste a temporary grid on your fabric. This method blends digital gridding with hands-on control, supporting delicate fabrics.
Small adjustments in technique can make a big difference. Use a stylus with a straight-edge for tablet drawing, slide slightly to offset tip thickness, and draw light lines you can remove. These simple embroidery hacks streamline transfer and reduce wasted fabric time.
Advanced Gridding Techniques for Better Results and Faster Stitching

Think of the grid as a flexible tool. Advanced techniques aim for precision with less uncertainty. Use light, easy-to-remove marks or water-soluble pens to mark without damaging the fabric.
Subdividing grids is key for detailed work. Divide a square into quarters or diagonals for small details like eyes or flower centers. This method ensures your designs stay aligned, especially when working with small motifs on high-count fabrics.
Work in short sessions and check your work often. Subdividing grids lets you place stitches confidently, reducing the need for rework on intricate designs. Marking quarter-lines every 10 stitches can also speed up counting on larger projects.
Blend structured gridding with freehand adjustments to avoid a stiff look. Use the grid as a guide, then soften lines or adjust small elements for a natural feel. Even small changes, like adjusting fur direction or a petal, can greatly enhance your design.
Regularly step back to evaluate the overall composition. This habit keeps your piece lively and balanced, even with freehand touches within the gridded layout.
Gridding for unusual canvas sizes needs careful planning. Count original squares, measure your fabric, and calculate new square sizes to maintain proportions. Remember to account for stitch-per-inch differences between Aida and evenweave fabrics when scaling your design.
For large projects, use tiled printing or large-format prints to cover your work area. Mark bold gridlines at larger increments, like every 20 stitches, to make long sessions easier.
Below is a compact reference to compare common approaches for scaling and detail work.
| Challenge | Technique | When to Use |
|---|---|---|
| High-detail facial features | Subdivide squares into quarters or diagonals | High-count fabric or portraits |
| Rigid, mechanical look | Combine grid with small freehand shifts | Animal fur, flowing fabrics, organic motifs |
| Large or nonstandard canvas | Compute square ratios; baste large increments | Oversized pieces and scaling cross stitch |
| Different fabric counts | Adjust stitch-per-inch calculations | Switching between Aida and evenweave |
Test these advanced techniques on a small sampler before tackling a big project. By experimenting with subdividing grids and gentle freehand adjustments, you can achieve refined results in a variety of cross stitch projects.
Organizing Your Cross Stitch Projects: Grids, Tools, and Workspace Hacks
Keeping your workspace tidy helps you work faster and makes fewer mistakes. Start with a simple plan for labeling patterns, storing threads, and using tools. Good organization saves time and keeps you focused on stitching.
Before you start, label each pattern with its name, fabric type, thread counts, and center marks. Use labeled bobbins or boxes for DMC floss, grouping threads by color. Mark your chart with highlights or sticky notes to track your progress.
Keep a small log of your projects. Note the start date, fabric, needle size, and any special instructions. This helps when you repeat designs or take commissions. Store basting thread and markers with each kit for easy access.
Choose frames that match your fabric size to keep the grid straight. Avoid tight hoops to prevent fabric warping. Stand-mounted frames are great for hands-free work.
Focus on ergonomics. Use good lighting and magnification if needed. Sit comfortably and switch positions often. Treat stitching as a therapy to prevent strain.
Organize reusable grids and templates in labeled folders or cloud storage. Save grid files with standard sizes for quick reuse. Keep physical grids for tracing and reuse.
Store pattern pieces and templates in labeled envelopes with DMC floss and specialty threads. Use a compact box with compartments for tools. Place often-used tools within reach to keep the flow.
| Item | Purpose | Storage Tip |
|---|---|---|
| Pattern copy | Track progress and note adjustments | Plastic sleeve with sticky notes and highlighters |
| DMC floss | Main thread storage and color changes | Bobbins labeled by number and color family |
| Cross stitch frames | Stable mounting for even stitching | Hang or stand-mounted storage by fabric size |
| Cross stitch tools | Needles, scissors, magnifiers, threaders | Compartment box at work station |
| Reusable grid templates | Quick generation of grids for new projects | Cloud folder plus printed acetate sheets |
| Project log | Record of settings and dates for repeatability | Small notebook or digital note per project |
Gridding for Beginners: Learning Path and Cross Stitch Tips
Start with a clear plan. Gridding makes counted cross stitch less frustrating while you learn to count and place stitches. You will build confidence faster if you combine short, focused practice sessions with small, simple projects.
Practice exercises to build observation and counting skills
Begin with 20×20 stitch motifs. Use scrap Aida and baste every 10 stitches to see how a grid maps to your fabric. This drill trains your eye and speeds up counting.
Cover adjacent squares while you work one box at a time. That helps you concentrate and reduces miscounts. Try subdividing larger blocks into 5x5s for finer detail practice.
Track small improvements. Many stitchers report hundreds of hours before feeling truly steady. Consistent practice cross stitch sessions will shrink your error rate and lower dependence on grids.
Beginner cross stitch projects to try with gridding
Choose patterns with broad color blocks. Small samplers, simple florals, geometric motifs, and animal silhouettes let you focus on counting and color changes. These cross stitch projects reward steady progress.
Use a DMC floss organizer and pre-sort threads before you stitch. That cuts setup time and keeps you in flow. For your first few projects, keep the grid visible until you finish key sections.
When to ditch the grid and trust your eye
Move away from full gridding when you count accurately and can estimate placement by sight. Start by reducing grid density from 10×10 to 20×20. Remove temporary grids in low-risk areas or only grid focal zones.
Combine freehand adjustments with spot-gridding. This hybrid method preserves proportion and gives you freedom to improvise as your skill grows. Use these cross stitch tips to transition at your own pace.
| Stage | Exercise | Goal |
|---|---|---|
| Starter | 20×20 motif, baste every 10 stitches | Learn basic counting and transfer technique |
| Focused Practice | Subdivide grids, cover neighboring squares | Improve concentration and reduce miscounts |
| First Projects | Small samplers or florals with clear color blocks | Apply gridding to real cross stitch projects |
| Transition | Reduce grid density, spot-grid focal zones | Gain confidence to work freehand with accuracy |
| Maintenance | Regular short practice cross stitch sessions | Keep steady counting and stitch placement skills |
Conclusion
Gridding is not cheating; it’s a smart way to improve your work. It helps artists and stitchers with accuracy and scaling. By using cross stitch techniques, gridding prevents counting errors and lets you focus on colors and designs.
Choose the right grid size and tools for your project. Use basting thread, water-soluble pens, or digital tools like Canva. These tips help avoid misaligned grids and unwanted marks. Keep your workspace organized with labeled patterns and a project log.
Start with grids and then try freer techniques to improve your skills. Use the methods and hacks from this guide to stitch faster and make fewer mistakes. Mix digital and physical methods, keep a project log, and see gridding as a powerful tool in your toolkit.