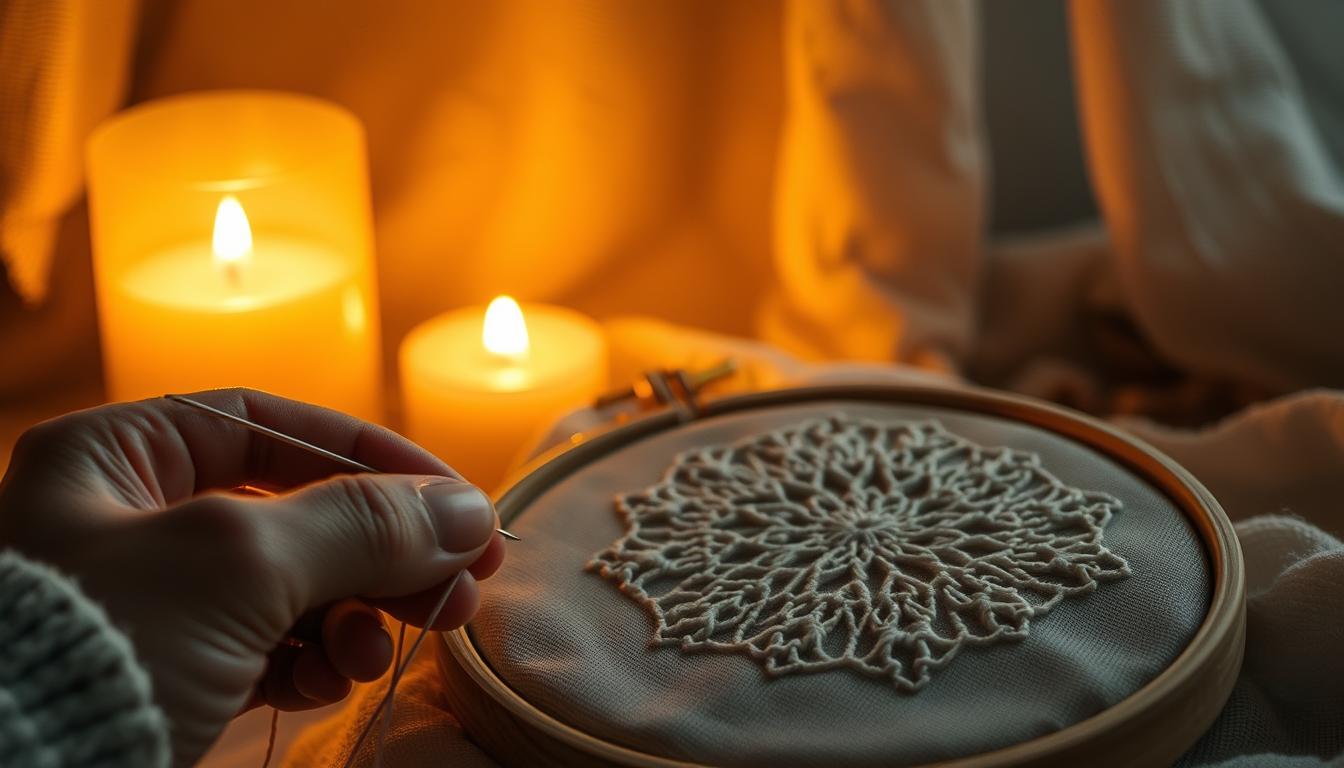
Stitching by candlelight turns a simple hobby into a calming ritual. Lighting a candle brings calm, scent, and focus to your evening. It makes CROSS STITCH feel like a special pause for self-care.
Choose a luxury candle from Byredo, Diptyque, Le Labo, or Cire Trudon for inspiration. The scent can calm your breath and steady your hands. This peaceful setting can improve your focus and make cross stitch therapy more effective.
Think of your stitch space as a cozy venue you prepare for. Set up a comfy chair, a warm throw, and a neat tray for your tools. Planning your space turns candlelit stitching into a focused, intimate practice for all stitchers.
In this guide, you’ll find tips on tools, patterns, and safety for candlelit stitching. You’ll learn about tension, visibility, and fire-safe choices. Plus, get ideas for short projects for a mindful evening.
Key Takeaways
- Candlelit stitching blends relaxation with focus, supporting cross stitch therapy and evening self-care.
- Luxury brands like Tom Ford, Maison Louis Marie, and Diptyque offer scents that elevate the ritual.
- Prepare your space—seating, tools, and lighting—to make candlelit sessions comfortable and productive.
- Cross stitch for beginners benefits from slow, deliberate pacing under warm light.
- The guide will cover practical safety notes, visibility tips, and small project ideas to try tonight.
Why Candlelight Enhances Your Stitching Ritual
When the flame lights up, everything changes. The warm glow makes edges softer and slows your breathing. This calm helps your body focus, making cross stitch a soothing therapy.
The science of low light and relaxation
Low, warm light tells your body to relax. It makes you breathe slower and your heart beat easier. This calm helps you focus on your stitches, reducing mistakes and increasing mindfulness.
How candlelight creates atmosphere and focus
A quiet, dim room helps you stay focused. It keeps your eyes on your work. You can follow cross stitch tips and techniques more easily, feeling less rushed.
Many prefer flameless LED candles for their warmth without fire risk. They offer the same cozy feel without the worry.
Choosing scents and luxury candles to elevate the experience (safety notes)
Choose scents that match your project’s mood. Lavender or cedarwood is calming, while citrus is uplifting. For a touch of luxury, try Byredo, Le Labo, or Diptyque.
Keep your work safe with simple candle rules. Place candles on stable surfaces away from your project. Never leave a flame alone. Use flameless candles for longer sessions or when you might fall asleep.
Cross stitch techniques that shine by candle glow
Stitching by candlelight changes how you work. It makes counted cross stitch more calm and precise. The soft light helps you see pattern repeats and color changes sooner, reducing mistakes.
Use a hoop or Q-snap frame to keep fabric tight and avoid stretched stitches. Rest your elbow on something firm to keep your hand steady. Keep thread lengths between 18 and 24 inches to avoid tangles and keep tension even. These tips help every stitch look neat, even in dim light.
Backstitching often finishes a design and needs steady lines. Working slowly by candlelight helps you make neater outlines and sharper details. Take short breaks between long lines to keep your hand steady and lines straight.
Place candles for warm, directional light without glare. Add a small clip-on LED magnifier for close counts while keeping the mood. Check stitch orientation often to avoid flipped Xs and keep stitches consistent.
Below is a quick comparison to guide your candlelit session choices.
| Technique | Benefit by Candlelight | Practical Tip |
|---|---|---|
| Counted cross stitch | Fewer counting errors and better color change detection | Work slowly; mark repeats on chart with a removable highlighter |
| Backstitching techniques | Cleaner outlines and enhanced detail | Use short thread lengths and pause between long runs |
| Tension control | Even stitches and consistent fabric drape | Use hoop or Q-snap and rest your forearm on a stable surface |
| Visibility tips | Better contrast, reduced glare, fewer flipped stitches | Place candles for directional light and keep a clip-on magnifier handy |
| Needlework secrets | Improved overall finish and less rework | Maintain 18–24 inch thread lengths and check orientation often |
CROSS STITCH
Stitching by candlelight makes you slow down and be more mindful. It’s a chance to pick simple projects that boost your confidence. Small designs and samplers are perfect for enjoying the soft light without eye strain.

Beginner cross stitch tips to try by candlelight
Begin with counted cross stitch patterns that are easy to follow. Use Aida 14 or 16 fabric to make counting easier and holes bigger in dim light. Choose high-contrast DMC floss colors so each stitch is clear against the fabric.
Go for pre-printed patterns or small kits from brands like DMC or Dimensions. This way, you won’t have to keep checking the pattern. Keep a magnifier and a small LED clip lamp handy for when you need more light.
Cross stitch projects well-suited for an intimate setting
Choose quick, cozy projects that you can finish in one evening or over a few candlelit sessions. Bookmarks, small hoop art, linen sachets, and designs for ornaments are great for a low-stress project.
Try a candle-themed sampler or a tiny hoop with a floral sprig to match the room’s mood. These small items can decorate a bedside table or mantel, adding a handmade touch to your space.
Cross stitch patterns and ideas that pair with candlelit mood
Choose patterns that reflect warmth and calm. Romantic florals, vintage motifs, celestial stars, hygge sayings, and scent-inspired labels work well with candlelight. Use warmer tones and muted contrasts for a cozy look.
Look for pattern sources like DMC books or independent designers on Etsy for gentle, small-scale ideas. Mix classic motifs with your own colors to make the piece personal and fitting for the evening.
- Beginner cross stitch idea: a simple heart or star motif on Aida 14.
- Cross stitch for beginners project: a bookmark with a short hygge phrase.
- Cross stitch projects suggestion: a set of three tiny hoops for a mantel display.
- Cross stitch patterns tip: choose charts with clear grid lines and limited color changes.
- Cross stitch ideas to try: scent-inspired labels or a small floral sachet for drawers.
Improving focus and reducing cross stitch mistakes
Creating a calm space for stitching helps your hands and eyes work better together. Lighting a candle can signal the start of a peaceful session. This calm pace helps avoid common mistakes.
Being in a quiet place helps you notice small errors early. You’ll make fewer mistakes with threads and avoid big unpicking jobs. These habits keep your work safe and your mind calm.
How a calm environment reduces counting errors and misstitches
Turn off distracting screens and only use what you need. A simple ritual, like lighting a candle, helps you focus. Stitching with purpose makes counting easier, reducing mistakes.
If you spot a stray stitch, stop and check the chart before fixing it. This pause helps avoid more mistakes and sharpens your eye for small issues. Use these tips to build a reliable stitching routine.
Cross stitch gridding and organization strategies to prevent mistakes
Start by drawing a grid on your fabric. Use a water-soluble pen or light basting thread for 10×10 blocks. This makes aligning motifs easier and avoids counting errors.
Organize your DMC floss on labeled bobbins or in a floss organizer. Use pattern highlighters to mark finished areas on your chart. Clear labels prevent color mix-ups and keep your stitching on track.
Tools and habits to spot and fix mistakes gently
Keep a small kit ready with a needle threader, blunt tapestry needles, small scissors, a fine crochet hook, and a magnifier or task light. These tools help fix mistakes without disturbing nearby stitches.
When you find an error, isolate it and flip the fabric over. Use small scissors to cut the wrong stitches close to the knot. Gently pull the wrong threads with a crochet hook, then re-stitch slowly to match the area.
| Problem | Calm habit | Tool | Quick fix |
|---|---|---|---|
| Off-by-one stitch | Pause and recount with the chart | Water-soluble pen for gridding | Unpick one column, re-align grid, re-stitch |
| Wrong color used | Check labeled bobbins before stitching | Floss organizer with DMC numbers | Clip back stitches, replace with correct color |
| Tension inconsistency | Rest after every 20 minutes to re-check tension | Tapestry needle and hoop/frame | Loosen surrounding stitches, re-tension, re-stitch |
| Missed stitch hidden in fabric | Use magnifier and task light for inspection | Compact magnifier or LED task lamp | Pull up missed thread with crochet hook, secure with small knot |
| Frayed threads | Handle floss gently and trim ends | Small embroidery scissors | Remove frayed section, re-thread with new strand |
Emotional and therapeutic benefits of stitching by candlelight
Stitching by candlelight can make a hobby calming. The soft light slows you down. Your breathing gets easier, and your hands move in a soothing rhythm.
Cross stitch therapy: mindfulness, stress relief, and routine
Following a counted pattern narrows your focus to each stitch. This mirrors meditation and supports mindfulness. The repetition calms your heart and offers stress relief as you see your work grow.
Using cross stitch as therapy also shows visible progress. Finishing a small motif boosts your sense of achievement. This builds resilience and encourages regular practice.
How ritual (lighting a candle, preparing tools) supports mental health
Getting ready—winding bobbins, picking threads, and lighting a candle—brings predictability. These small actions create a comforting routine that signals safety. It’s like focusing on a concert or a special event, making the moment more special.
Having organized tools reduces mental clutter. A tidy hoop, clean needle, and chosen threads help you get into a calm, productive state faster.
Stitching as evening self-care and creative unwind
Make candlelit stitching a part of your evening routine. It helps separate work from personal time. Stitching becomes a signal that it’s time to rest.
Stitching by candlelight invites creativity into your quiet hours. It can brighten your mood and give you momentum for new projects. Over time, it builds a habit that supports your well-being.
Practical embroidery hacks and tools for safe candlelit stitching
Stitching by candlelight needs smart tools and habits. Choose items that keep fabric steady, improve light, and avoid sparks. A few tweaks make evening stitching safer and more fun.

Begin with cross stitch frames that keep fabric tight. Q-Snap and scroll frames let you stitch without moving your hands. A clean hoop or frame keeps your project steady, even when you move.
Use magnifiers or a clip-on LED light for detailed work. Portable magnifiers with stands fit in a bag and help with thread counting. Clip-on lights give focused light without ruining the candle’s glow.
Organize your DMC floss before starting. Wind colors on labeled bobbins or rings for quick access in the dark. Pre-threading needles with common colors speeds up stitching and reduces candle fumbling.
Try these embroidery hacks for better visibility and thread handling. Use high-contrast floss at night to make stitches stand out. Work with shorter thread lengths to avoid tangles and knots. The knotless method makes for cleaner backs and smoother fabric.
Keep a small tray for scissors, needles, and a thimble. Metal tools can reflect light and slip; a tray keeps them safe from flames. Put scissors and needles in the tray right after use.
Consider flameless candles or real ones for ambiance and safety. Flameless candles offer a similar glow, last longer, and are safer. Real candles provide a warm, natural light but need constant attention and safe placement.
Follow fire safety rules with real candles. Place them on flat, noncombustible surfaces and keep them away from fabric and thread. Never leave lit candles alone; turn them off before leaving the room or sleeping. Flameless candles are often used at events for safety, a good idea for home crafting too.
Use the table below to compare common candlelit stitching choices. This helps match tools to your evening routine.
| Item | Benefit | Best Practice |
|---|---|---|
| Q-Snap frames | Keeps fabric taut and hands-free | Use correct size for fabric; secure clips before stitching |
| Scroll frames | Large working area, reduces repositioning | Roll evenly to avoid fabric distortion; place on flat surface |
| Magnifiers & clip-on lights | Improves visibility without brightening the whole room | Position to reduce glare; use battery backups |
| DMC floss organization | Saves time and reduces fumbling in low light | Label bobbins; group by project palette |
| Flameless candles | Safe ambiance, long run time | Choose warm LED tones; place among decor for even glow |
| Real candles | Natural flicker and scent options | Keep >12″ from fabrics; use sturdy holders and never leave unattended |
| Tool tray | Prevents misplaced blades and needles | Keep within reach; return tools immediately after use |
Design and decor: pairing cross stitch projects with candle ambiance
You can make your stitched pieces feel at home in any warm-lit room. Pick displays and fabrics that work with soft light. Small choices in framing, fabric, and color will change how a piece reads by candlelight.
Cross stitch frames and display ideas that complement candlelit rooms
Choose rustic wooden hoops, aged brass frames, or slim gold mouldings to catch a candle’s glow. Shadow boxes and floating frames add depth and protect fragile pieces from dust and stray wax.
Place finished work on mantelpieces, bedside tables, or a gallery wall near flameless candles. Use groupings of small samplers for a cozy vignette. Safe placement keeps your decor cohesive and practical.
Choosing cross stitch fabric and color palettes for warm light
Select undyed linen, ecru, or warm white cross stitch fabric to enhance warmth. These tones reflect candlelight and avoid the flat look that cooler fabrics create.
Build color palettes around warm reds, amber tones, and muted greens. High-contrast combinations read better in low light. Steer clear of pale blues and grays that can disappear in warm illumination.
Creating themed projects inspired by candle scents and luxury brands
Translate scent notes into cross stitch patterns by matching cedar, bergamot, and amber to threads and motifs. Luxury candle-inspired projects can include stitched labels, mini-samplers, or quote pieces that echo brands like Diptyque or Le Labo.
Make giftable sachets or coasters that reference favorite candle aromas. Use small motifs—cedar sprigs, citrus slices, amber drops—to tie scent to stitch in elegant, wearable decor.
| Display Type | Best Fabrics | Ideal Color Palettes | Room Placement |
|---|---|---|---|
| Rustic wooden hoop | Undyed linen, ecru | Warm reds, muted greens, amber accents | Bedside table, mantel |
| Aged brass or gold frame | Warm white, soft cream | Deep burgundy, gold thread highlights | Gallery wall, entryway |
| Shadow box | Natural linen, warm beige | Cedar browns, bergamot yellow, soft green | Living room shelf, mantelpiece |
| Floating frame | Warm white, ecru | Amber, tobacco, muted teal | Dining area, cozy corner |
Getting started tonight: a how-to guide for candlelit stitching sessions
Before you light a candle, take a little extra time. Arriving early lets you organize your tools and test the light. This way, you can settle into a comfortable rhythm.
Setting up your workspace: lighting, chair, and tool placement
Place candles or flameless lights to the side and slightly behind your stitching hand. This casts warm light without creating heavy shadows over your fabric. Keep a small lamp nearby for detailed work when needed.
Choose a chair with firm back support and a table that sits at elbow height. A low tray of noncombustible material keeps scissors, needles, and a candle snuffer in one place. Position tools so you can reach them without shifting your posture.
Beginner cross stitch checklist: needles, counted patterns, fabrics, DMC floss
Use this beginner cross stitch checklist to make setup simple and stress-free. Essentials include tapestry needles sizes 24–26, Aida 14 or 16 fabric, a simple counted cross stitch pattern, labeled DMC floss, an embroidery hoop or frame, and small scissors.
Add a water-soluble marking pen or basting thread for gridding, a needle threader, and a small magnifier if you need it. Keep floss organized by number so you can grab colors quickly during a short evening session.
Suggested short projects and cross stitch for beginners to complete in an evening
Pick small, focused cross stitch projects that finish in one to three evenings. Good options are bookmark motifs, 3–4 inch hoop art, a simple floral sampler, a candle-themed mini, stitched coaster, or a small ornament.
Work in 10–20 minute focused intervals. Rest your eyes between bursts and use the candle ritual to mark session start and end. That pacing helps you enjoy progress without rushing and reduces counting mistakes.
| Project | Time | Materials | Why it works for tonight |
|---|---|---|---|
| Bookmark motif | 1 evening | Aida 14, DMC floss (2–3 colors), needle size 24, small scissors | Compact canvas, clear cross stitch patterns, quick gratification |
| Small hoop art (3–4 in) | 1–2 evenings | Aida 14 or 16, labeled DMC floss, hoop, needle threader | Portable, frames easily for display near candlelight |
| Floral sampler | 2–3 evenings | Mixed DMC floss colors, fabric, tapestry needle, gridding tool | Repetitive stitches build confidence, forgiving patterns |
| Candle-themed mini | 1 evening | Aida 16, 2–4 DMC floss colors, small hoop | Fits the mood and makes a quick, themed keepsake |
| Coaster or ornament | 1–2 evenings | Aida 14, DMC floss, backing fabric, small scissors | Functional, small format, ideal for practicing finishes |
Conclusion
Stitching by candlelight combines practical skills with a calming ritual. It helps you relax and focus better, leading to fewer mistakes. This hobby becomes a soothing routine, offering inspiration for new designs.
Always prioritize safety and preparation. Use flameless candles for long sessions and organize your supplies. Grid your fabric to avoid errors and protect your stitches with frames and magnifiers.
Try a candlelit stitching session tonight with the beginner checklist and suggested projects. Lighting a candle and setting up your needles is a self-care act. With mindful setup and habits, candlelit stitching can improve your technique and inspire new ideas.