Start your first cross stitch project with confidence. You’ll learn what the craft really is and why many beginners stall. This short intro points you to quick fixes that make your first piece look neat instead of patchy.
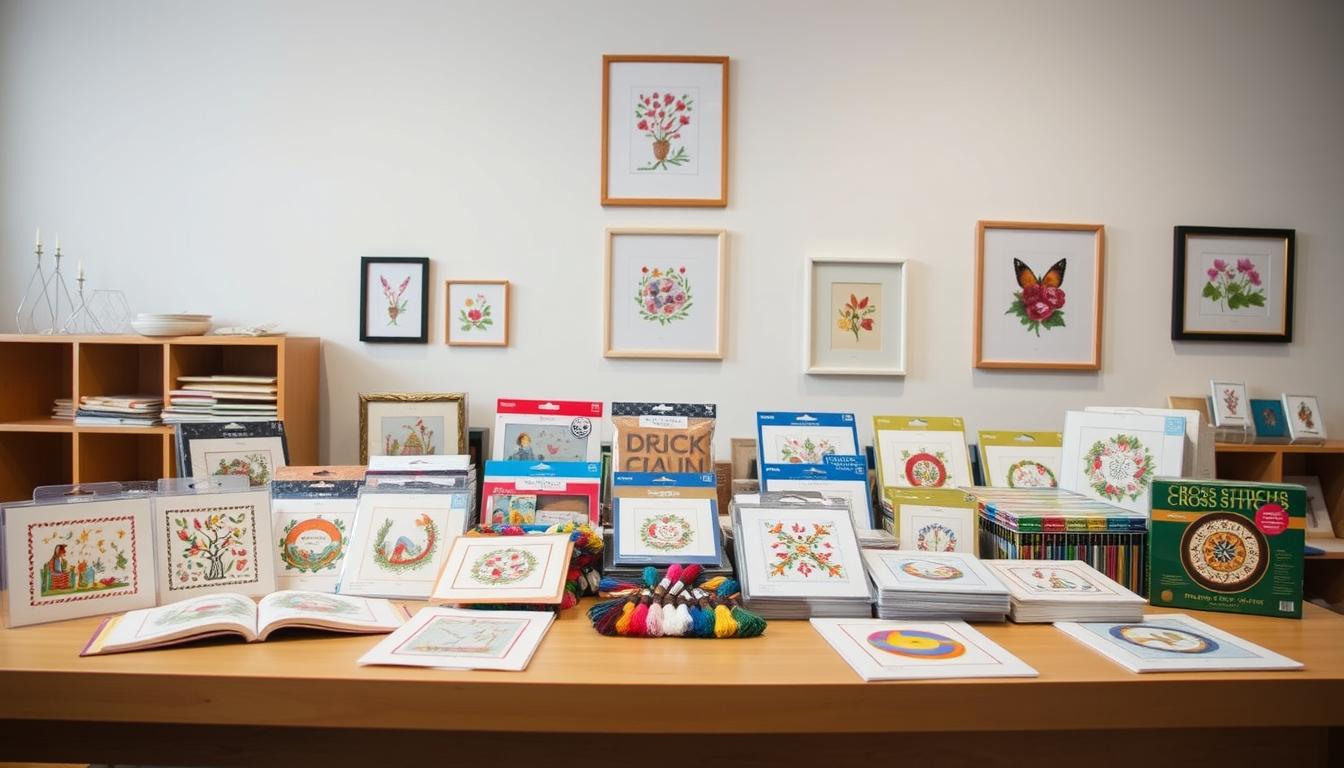
Begin by choosing the right kits and clear patterns. Many buyers praise Caterpillar kits for quality supplies, easy instructions, and ample thread. That saves time and reduces frustration when you learn how to count and hold tension.
You’ll also discover how community support speeds learning. A friendly Facebook group and recent beginner guides mean you can get answers fast as you practice basic technique.
This article will guide your key choices—fabric, needle, hoop—and show how simple setup habits prevent tangled thread and uneven tension. Follow the steps here to finish projects that look polished and feel rewarding.
Key Takeaways
- Pick beginner-friendly kits and clear patterns to avoid early frustration.
- Learn basic counting and tension to keep your work neat.
- Check supplies—good thread and needles matter for smooth stitching.
- Use community help and guides when you need quick, practical tips.
- Start with simple patterns so you build rhythm and confidence.
Start Right: Essential CROSS STITCH setup to prevent beginner errors
Start with the right fabric and tools so each X lands where it should. Choose 14-count aida to learn faster; its visible holes help you count and place each stitch without strain.

Choose the right fabric and count
14-count aida offers clear squares and larger Xs, so you avoid miscounts and build steady hand-eye rhythm. Lower count means bigger stitches and easier tracking.
Floss, needle, and hoop basics
Use Six-Strand Embroidery Floss and a blunt cross needle with an elongated eye. A snug hoop keeps fabric taut while you work. Fine embroidery scissors give clean snips for tidy ends.
Thread management and marking
Separate strands neatly, cut shorter lengths, and anchor tails under existing stitches instead of tying knots. Mark grids with a DMC soluble marker and stitch under bright, even light.
- Tip: Keep tension gentle and consistent for uniform results.
| Item | Why it matters | Quick choice |
|---|---|---|
| 14-count aida | Visible holes reduce miscounts and teach placement | Beginner-friendly |
| Six-Strand Embroidery Floss | Adjust strands for coverage and texture | DMC branded floss |
| Blunt needle | Prevents fabric damage and fits multiple strands | Long-eye tapestry needle |
| Hoop | Keeps tension even to avoid puckers | Wood or plastic hoop, snug fit |
| Embroidery scissors | Clean cuts prevent fray and splitting | Sharp, pointed blades |
Stitching with confidence: reading patterns, stitching technique, and finishing without flaws
Reading a pattern like a map helps you stitch smarter and avoid costly miscounts.
Start by scanning the whole chart. Match symbols to the color key, highlight sections on paper, and lightly grid your fabric so each mark lines up with the correct square.
How to read a chart
Work from the center, or mark a reference point, and stitch in color blocks to avoid carrying thread across the back. Check every 5–10 stitches against the chart and use a highlighter or needle minder to track rows.
Tension and hooping
Let the hoop do the holding. Keep the fabric taut but not stretched. If puckering appears, ease hoop tension and relax your pull on the floss so each stitch lies flat.
Backstitch and outlines
Add outlines last with backstitch to sharpen eyes, lettering, and motifs. Use shorter backstitch lengths around curves and trim tails with fine scissors, weaving ends under nearby stitches for a tidy back.
- Follow DMC tutorials on chart reading and backstitch for clear, reliable demos.
- Protect fabric edges with tape to avoid fray as you work across the count.
Smart shopping for success: kits, patterns, and supplies that reduce mistakes
Shop with a plan so your supplies support steady progress and neat results. A well-chosen kit or pattern reduces guessing and keeps you focused on learning technique, not troubleshooting.

Beginner-friendly kit features
Look for clear, large-print charts, pre-sorted threads, and extra skeins so you won’t run out mid project. Choose kits that include a toolkit list or link to tutorials and a supportive community for quick help.
Patterns that build skills
Start with quick & easy designs, seasonal motifs, and small ornaments to practice count and color changes. Downloadable patterns let you begin immediately and avoid shipping delays.
Save while you learn
Hunt “kits on sale,” “patterns on sale,” and clearance finds, or buy gift cards to stack savings during promo weekends. Free downloadable cross stitch patterns from DMC can also speed practice.
Reliable supplies
Pick predictable materials. Favor DMC embroidery floss, 14-count aida, and a blunt, elongated-eye needle for consistent results and fewer thread issues.
Expand with purpose
Add buttons, beads, or charms sparingly to enhance texture while keeping the main motif clear. Group supplies—floss, fabric, needles, and finishing items—so you start each project ready.
Conclusion
Finish strong by trusting the setup and habits that cut errors early.
You’ve learned how 14-count aida, a blunt needle, quality floss, a snug hoop, and a washable marker prevent most early problems. These choices help every cross stitch start neatly and stay that way.
Reading charts, keeping steady tension, and finishing cleanly turn each stitch into a predictable step. Count often and use small checks to keep work accurate.
Choose beginner-friendly kits, hunt smart sales, and focus on small patterns to build rhythm. Use tutorials and community tips when you need a quick boost.
Measure twice, count often, and keep tools organized. Trust your process and enjoy more time making, not fixing.