Yes — you can adapt a cross stitch pattern to needlepoint and keep its charm. This short introduction shows why a pattern built from X-shaped marks works on canvas and what changes matter for your project.
You’ll learn how count and coverage affect size, which tools carry over, and what to swap. Beginners can use 14-count aida as a starting point for fabric, then match canvas mesh for similar results.
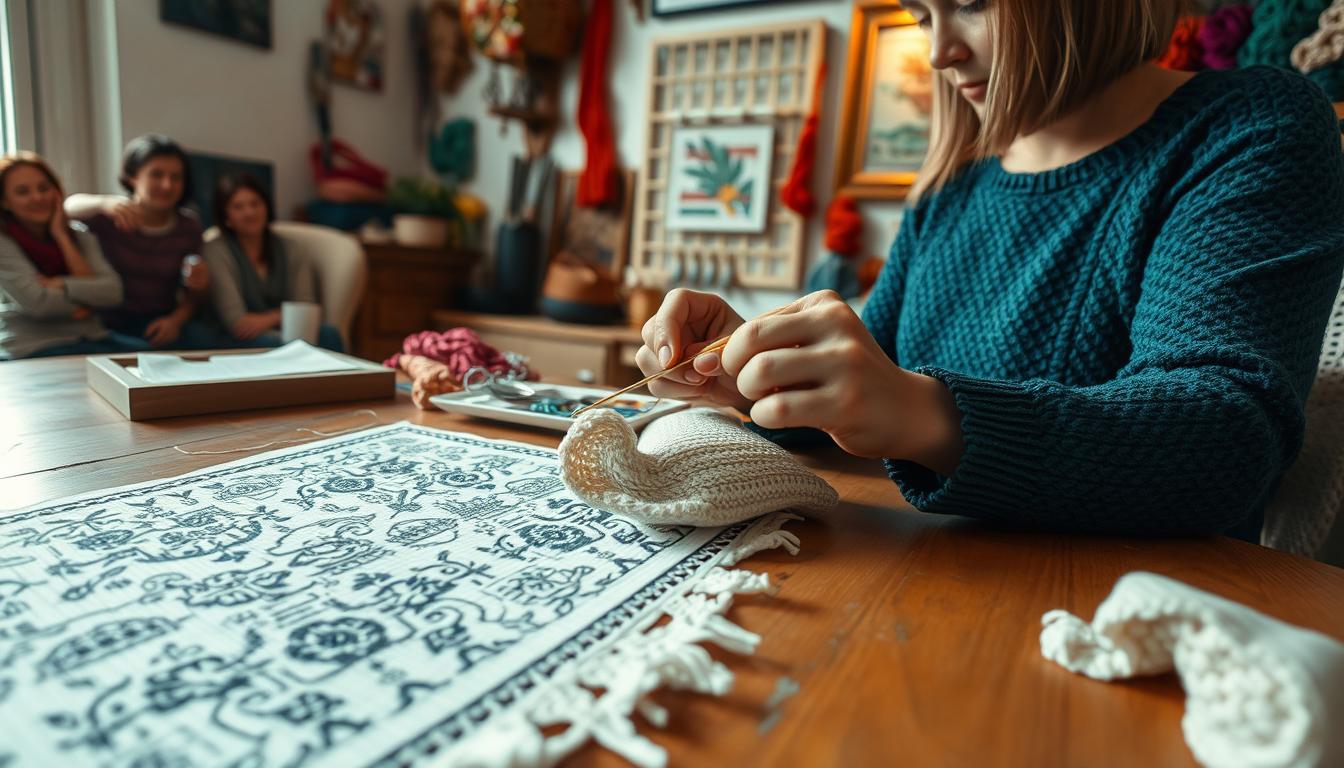
Essential supplies include six-strand embroidery floss, a blunt needle with an elongated eye, a hoop, sharp scissors, and a washable marker. Kits and clear patterns make it easier to get started, and retailers often have themed items on sale.
Quick note: some dense outlines or specialty stitch sequences do not convert neatly. Testing substitutions on a scrap will save time and keep your finished piece neat and durable for home display.
Key Takeaways
- You can convert a cross stitch design to needlepoint with thoughtful stitch swaps and testing.
- Count matters: match fabric count to canvas mesh to keep scale accurate.
- Some tools like floss and hoops transfer well; needles and canvas may differ.
- Start small, use kits or clear patterns, and test on scrap before committing.
- Shop smart—retailers often run sales on patterns and supplies that suit beginners.
Can you adapt CROSS STITCH charts to needlepoint today? What you need to know
Yes — but success depends on count, coverage, and your canvas choice. Start by matching the pattern’s stitches-per-inch to a comparable mesh so your final size stays true.
Present-day considerations: count, coverage, and canvas vs. fabric
For most charts, a 14-count aida converts well to a 13–18 mesh canvas. That range preserves scale and guides thread usage.
Coverage matters. Two strands of floss on 14-count fabric may need 3–4 strands or a thicker thread on canvas to read as solid color.
When it works, when it doesn’t: full-coverage designs, backstitch, and specialty stitches
Full-coverage designs adapt easily because every square is filled. Open patterns with lots of backstitch or fractional marks may lose definition.
If outlines are vital, convert backstitch to tent or single-strand outlines, or tweak shapes for clearer edges. Use a blunt tapestry needle sized to mesh to avoid splitting canvas threads.
Tip: shop seasonal sales for cross stitch kits and stitch kits—supplies, patterns, and threads are easier to source now than ever.
Key differences between cross stitch and needlepoint that affect your project
Material choice and thread weight change how a pattern reads on canvas versus fabric. Your foundation controls texture, size, and edge clarity, so pick materials before you cut.

Ground materials: aida and evenweave vs. needlepoint canvas
Aida and evenweave show clear holes and woven squares that guide each cross stitch. Canvas is stiffer with a more open grid, so stitches sit differently and edges may look harder or softer.
Thread choices: six-strand embroidery floss, wool, and perle cotton
Six-strand embroidery floss lets you change coverage by altering strands. On canvas, perle cotton or wool often gives better body and wear resistance than standard floss.
Needles and tension: blunt tapestry needles, hoops, and frames
Use a blunt tapestry needle sized to the mesh and avoid forcing it. A hoop works on fabric, but stretcher bars or a frame give steadier tension for canvas projects.
Chart symbols, count, and sizing conversions
Chart symbols translate, but count changes size. Recalculate dimensions before cutting: a 100×100 pattern at 14-count will shrink or grow on 13–18 mesh. Test with a small swatch to match threads and coverage.
Buyer’s guide to materials: choosing the right supplies for conversion
Picking the right materials makes conversion smooth and keeps your final piece true to the original chart. Start by matching mesh and thread weight so size and color blocks stay accurate.
Fabric and canvas: equivalents and coverage
If your pattern targets 14-count aida, choose 13–14 mesh canvas for similar density. For finer detail, use 18 mesh but test thinner threads or fewer strands to avoid bulky coverage.
Threads and floss: opacity, sheen, durability
Six-strand embroidery floss lets you adjust coverage by changing strand count. Perle cotton gives a firmer twist and subtle shine, while wool or wool blends add body and wear resistance on canvas.
Essential tools to get started
Build a basic toolkit: a blunt tapestry needle sized to your mesh, a hoop or frame for steady tension, sharp embroidery scissors, and a water-soluble marker or magic paper for guides.
- Use cross stitch kits or stitch kits with generous thread packs if you’re a beginner.
- Shop sales to assemble cross stitch supplies and stitch supplies at better prices.
- Buy enough threads from the same dye lot to avoid color shifts mid-project.
Techniques to translate a cross stitch pattern to needlepoint
Start by planning which tent-family stitches will best translate the chart’s filled areas to canvas. A short test swatch saves hours and helps you pick threads, counts, and needle size before the main project.

Stitch substitutions: basketweave, continental, and half-cross
Use basketweave for full coverage and to reduce canvas distortion. It gives a dense, smooth finish for large color blocks.
Choose continental for a neat diagonal slant and consistent texture. Use half-cross when you want lighter coverage or faster progress on small areas.
Managing outlines and refining edges
Convert backstitch outlines to a fine tent path or couch a single strand of floss to keep edges crisp. Adjust stitch direction around curves to preserve silhouette and avoid jagged lines.
Color matching and dye lots
Buy enough skeins from the same dye lot to keep colors uniform. If you swap fibers, match the chart palette to equivalent shades in your chosen brand and label each bobbin.
Test swatches before you commit
Work a sample using your intended count, thread, and needle to confirm coverage and sheen. Compare the swatch to the pattern’s flat areas and detailed borders.
“Test early and often — small swatches reveal the changes that matter.”
Pro tip: shop sales on kits and downloadable patterns to try new stitch patterns without a big investment. Keep small items like bobbins and floss cards handy to prevent tangles during stitching sessions.
Where to shop and what to buy: kits, patterns, and supplies on sale
Look for retailers that group kits, patterns, and supplies with clear “What’s On Sale” banners so you can find starter projects at a discount.
Cross stitch kits usually include aida fabric, embroidery floss, a blunt needle, and a chart. Stitch kits may include canvas instead of fabric and sometimes add beads or buttons.
How to adapt kits and what to check
When you adapt a kit to canvas, confirm thread quantities and count. Swap fabric for canvas and pick a needle sized to the mesh.
Finding patterns, downloads, and sales
Watch Kits on Sale and Patterns on Sale promotions, including Quick & Easy Pattern Sale events. Trending seasonal designs (holiday issues, nutcracker motifs) often translate well to canvas and are ideal for beginners.
| Item | Typical Contents | Best For | Notes |
|---|---|---|---|
| Cross stitch kits | Aida, floss, needle, chart | Beginners, gift boxes | Swap fabric for canvas; check floss yardage |
| Stitch kits | Canvas or fabric, thread, instructions | Needlepoint converts, detailed designs | May include beads; verify mesh count |
| Downloadable patterns | PDF chart, symbol key | Quick tests, print-at-home | DMC free patterns helpful for practice |
Make a simple checklist before you buy: floss or thread, fabric or canvas, needles, hoops or frames, and any beads or buttons the design calls for. Check free shipping thresholds and vendor communities for extra help.
“DMC’s free pattern programs and active kit communities speed your learning curve.”
Tip: Buy kits on sale to get started affordably, and consider gift cards or seasonal kits as presents for crafters at home.
Conclusion
A well-planned conversion keeps the original design’s charm while adding the durability of canvas work.
Match your mesh to the source count, plan coverage, and swap threads so colors read correctly. Use a 14-count aida approach as your starting guide, a blunt needle, and six-strand floss when testing.
Test a small swatch to confirm stitch direction and sheen before you commit. Convert outlines thoughtfully and manage dye lots to keep color consistent.
When buying supplies, compare kits and downloadable pattern options and time purchases with a good sale to save money. With the right prep, your embroidery will honor the original cross design and finish cleanly.