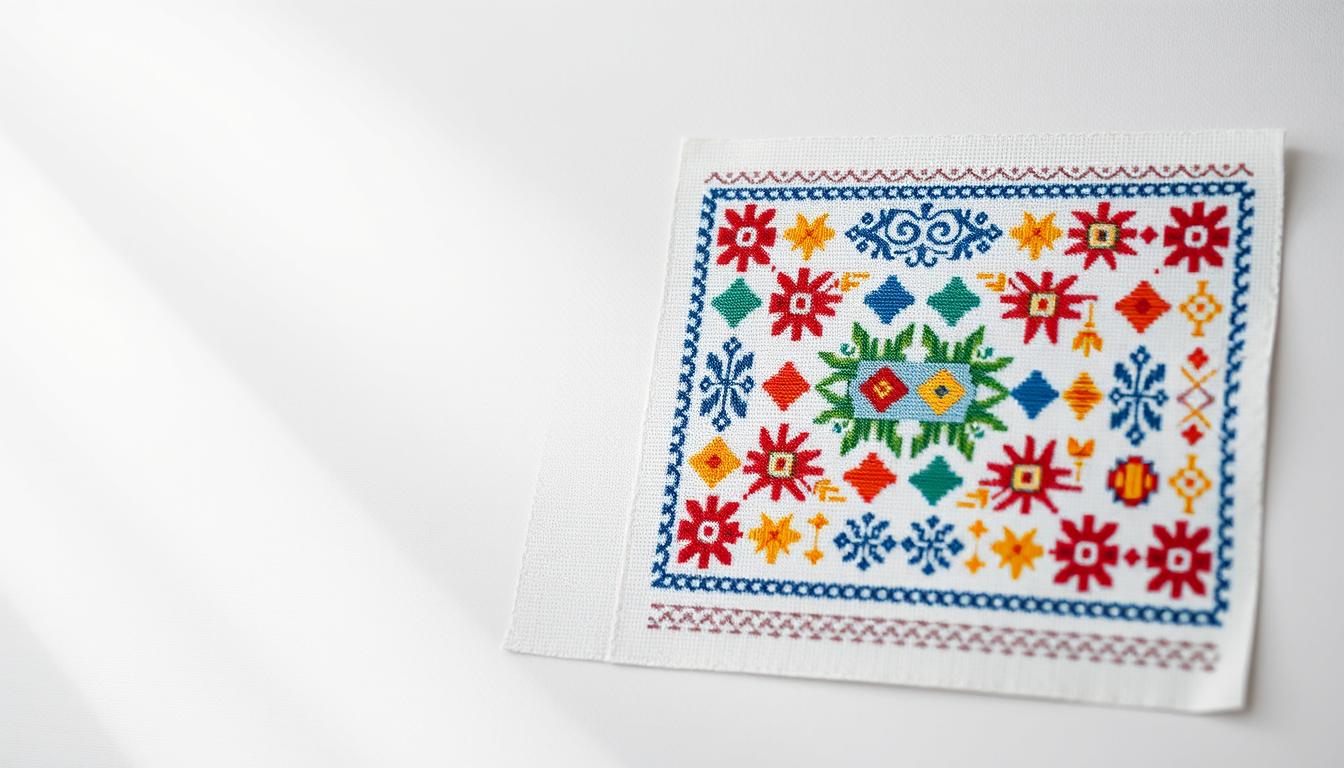
You learned how to follow a familiar cross stitch chart and then wanted a different finish. This guide showed you how to keep the same design while changing the fabric and texture for a new needlepoint project.
You started by comparing grounds: aida fabric measured by count versus needlepoint canvas measured by mesh. That change mattered because each cross needed mapping to a canvas intersection.
Next, you reviewed thread choices. Moving from Six-Strand embroidery floss to pearl cotton or tapestry wool meant choosing a needle that glides and avoids snagging. You also checked tools: a hoop or frame, sharp scissors, and basic supplies to keep your work tidy.
Along the way, you found sources of patterns and kits, spotted a good sale, and borrowed tips from DMC tutorials for starting, chart reading, and back stitch conversion. By the end, you had a simple, repeatable method to turn cross stitch patterns into polished needlepoint.
Key Takeaways
- Map aida count to canvas mesh to keep design size consistent.
- Swap floss for tapestry yarn and use a suitable blunt needle.
- Keep a small toolkit: canvas, frame, needle, scissors, and markers.
- Use reputable sources for kits and watch for weekend sales on patterns.
- Apply DMC charting tips for outlines and back stitch conversion.
What Changes When You Move from Cross Stitch to Needlepoint
Switching your pattern to canvas affects size, texture, and how threads fill space. You’ll notice fabric behavior, thread coverage, and tool choices all shift when you change grounds.
Fabric and mesh: mapping aida count to needlepoint canvas
Match counts to mesh. Aida 14-count equals about 14 stitches per inch and maps well to 14‑mesh mono canvas so your design keeps the same scale.
Choose mono for easy diagonal work and tension control, or interlock when you want more resistance and less distortion.

Thread choices: embroidery floss vs tapestry wool and pearl cotton
Decide if you’ll keep stranded embroidery floss or move to tapestry wool or pearl cotton for fuller coverage. Test how many strands give opacity without crowding.
Needle selection and tools
Pick a blunt tapestry needle sized for the canvas so it goes between threads, not through them. Use a hoop or frame for even tension and sharp scissors to trim tails.
Reading charts and coverage
Translate chart symbols to tent, continental, or basketweave stitches and convert backstitch outlines into straight or couching lines that read cleanly on canvas.
- Stagger stitch direction to avoid ridges.
- Test swatches to balance count, thread, and tension before you start the main piece.
Buyer’s Guide: The Supplies, Kits, and Patterns You’ll Need
Start your buying list with fabric and a reliable needle—these two choices shape how the project will behave. Choose aida for classic cross stitch work or match aida count to mono or interlock canvas when you convert charts for needlepoint.
Fabric options
Mono canvas gives crisp diagonals and easy tension control. Interlock canvas resists distortion in large filled areas.
Match count to mesh so your design keeps the same scale when you move between fabric and canvas.
Floss and thread
Stock DMC Six-Strand Embroidery Floss for colors and versatility. Decide whether to use 2–3 strands on 14‑mesh or switch to pearl cotton or tapestry wool for fuller coverage.
Needles, hoops, frames, and scissors
Build a practical toolkit: a blunt tapestry or cross needle sized for your mesh, hoops or a frame, and sharp embroidery scissors to trim cleanly.
Kits, patterns, and where to buy
Kits give curated fabric, threads, and charts—great for beginners. Downloadable patterns offer instant variety and let you print only what you need.
“Kits often include extra threads and clear charts, which reduces guesswork and helps you finish the project.”
Shop smart and extras
- Watch retailer “New Kits” and “New Patterns” drops and weekend quick‑buy sales to save on popular designs.
- Add magic paper or a soluble marker, needle minders, and gift cards for friends who love this craft.
Step-by-Step: Convert Your CROSS STITCH Pattern for Needlepoint
Start by converting the chart’s grid into canvas units so each counted box maps to one canvas stitch. Measure the design on its original fabric and compute the target size using your chosen mesh and count.

Stitch mapping: full crosses to tent, continental, or basketweave
Map each marked square to a tent, continental, or basketweave stitch. Use basketweave for large filled areas to keep tension even.
Switch to continental for medium spans and tent for small motifs where speed or low bulk matters. Follow the chart symbol-for-symbol so colors and shading read correctly on canvas.
Outlines and details: adapting backstitch and specialty stitches on canvas
Convert backstitch lines to straight stitches along canvas threads, or use couching for smooth, raised lines. For fractional elements, try upright or slanted Gobelin stitches to hold detail without distortion.
Test swatch: check coverage, color, and count before your main project
Work a 1–2 inch swatch using your chosen thread or embroidery floss and needle. Adjust strand count or switch to pearl cotton or tapestry wool until coverage is opaque but not crowded.
- Workflow tip: Keep a blunt tapestry needle and sharp scissors handy to park threads neatly.
- Budget tip: Use a weekend pattern sale to buy small cross stitch patterns or kits for quick trials.
- Finishing: Plan edge treatment early based on whether the piece will be a pillow, wall art, or ornament.
Conclusion
Bring your plan together: confirm mesh and count, pick the right thread, and convert each symbol into an appropriate stitch so your design reads clearly on canvas.
Keep your toolkit lean — canvas or fabric, a blunt needle, a hoop or frame, and sharp scissors make starting easy and fast.
Mix curated kits with downloadable patterns when you buy supplies, and watch weekend sale notices to stretch your budget. Use DMC tutorials and peer groups for quick help with chart reading and backstitch conversion.
Share progress for feedback, add small items like needle minders or soluble markers to your cart, or send gift cards to maker friends. With practice, you’ll turn favorite designs into polished art ready to display.