You want softer Aida so your cross stitch feels smoother and your needle glides with less resistance. You’ll also keep your stitch count accurate across the whole project and protect delicate designs.
In this short guide, you’ll learn seven safe, practical methods you can do at home. Some methods act fast, like steam and press. Others, like gentle soaking, soften deeper without losing the fabric grid.
You’ll see when to soften before you get started and when to wait until after you finish stitching. That helps you protect edges and keep tension for hoop work. The guide also covers testing colorfastness so your thread and floss stay true.
By the end, you’ll have a clear plan to prep fabric, stitch with confidence, and finish a project that looks polished and feels great in hand.
Key Takeaways
- Softening improves needle glide and stitching comfort for home craft projects.
- Seven methods let you choose quick or deep treatments to match your fabric.
- Test small swatches to protect thread colors and check colorfastness.
- Know when to soften before you get started and when to wait until after stitching.
- Pick supplies and fabric count that support gentle softening and neat designs.
Why Aida Feels Stiff and How It Affects Your Stitching Experience
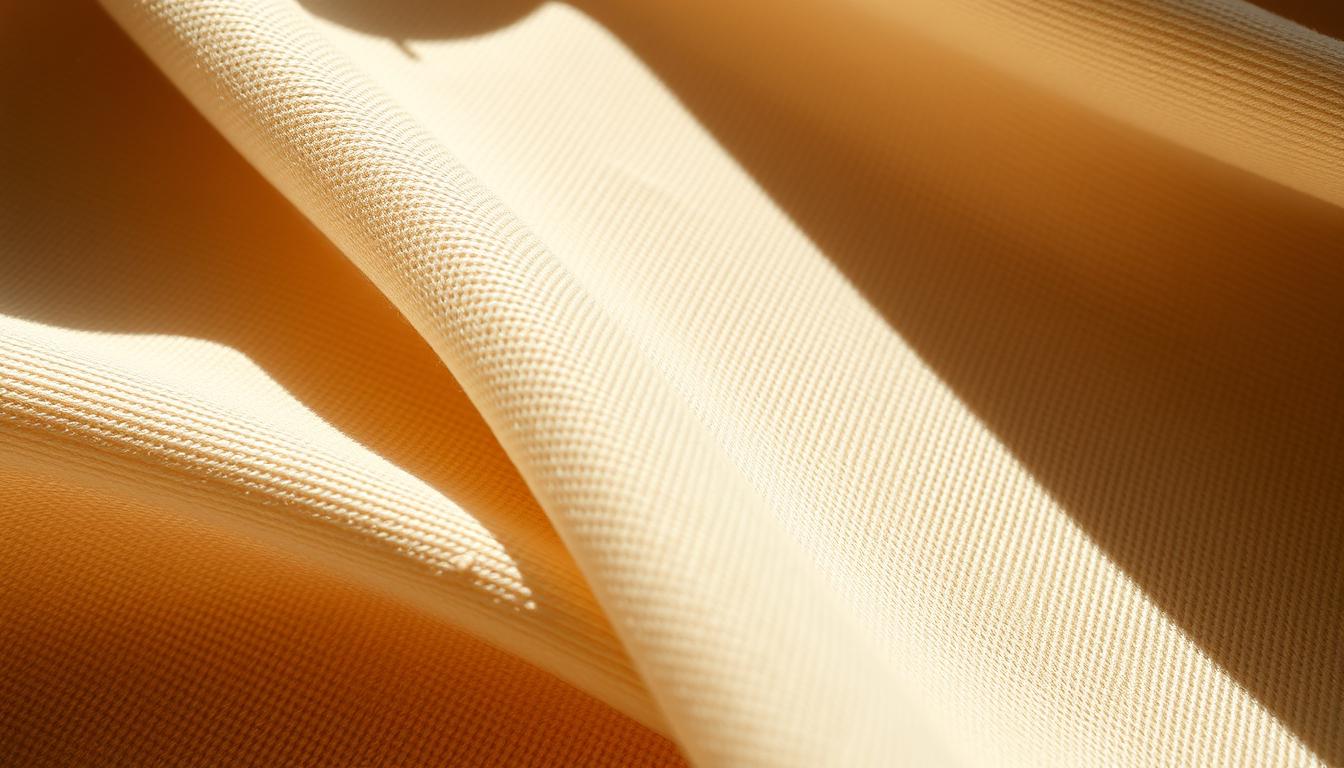
Aida often feels stiff because manufacturers size it to hold a clear grid, and that finish changes how it handles under your needle.
Quick checks will tell you a lot before you start. Do a dry drape test: fold the fabric over your hand. If it springs back, sizing is heavy. If it hangs softly, you’ll have an easier time with tension and stitch placement.
Quick checks: fabric count and brand differences
First, check the count. Higher counts can feel denser and firmer. Lower counts usually feel softer and bend more easily.
Brand and weave matter. Some bolts carry heavier sizing that resists bending and can snag threads as you work. That increases thread drag and can fuzz your floss.
- Needle choice: a slightly larger needle opens holes more gently and reduces friction.
- Pattern impact: heavy sizing can make visible punctures and uneven stitch tension.
- Colorfastness: test colors and printed marks on a scrap before any wet treatment.
| Check | What to do | Why it matters |
|---|---|---|
| Dry drape test | Fold over your hand | Shows sizing level and expected hand |
| Count | Verify label (e.g., 14, 16) | Affects feel, needle choice, and visibility |
| Colorfast test | Wet a corner and blot | Protects colors and printed grids |
Start with these quick checks so you can balance visibility and comfort. Soften just enough to keep the grid clear for accurate cross stitch counting while improving how your threads glide during stitching.
Seven Proven Methods to Soften Aida Cloth at Home
Try these seven easy at-home techniques to loosen stiff Aida so your needle and thread glide with less effort. Each method protects the grid while improving comfort, so you keep accurate counts and smooth tension.

Gentle pre-wash with mild detergent
You can pre-wash Aida in cool water with a drop of mild detergent. Swish gently by hand to lift sizing without rough agitation.
Rinse well to remove soap residue so your floss and threads stay clean while you stitch.
Vinegar and water soak
For stubborn stiffness, soak in cool water with about 1 tablespoon white vinegar per quart. Let sit briefly, then rinse until the smell is gone.
Lay flat on a towel to dry so the weave keeps its shape and colors stay true.
Fabric softener rinse (use cautiously)
Only use a highly diluted fabric softener after a colorfast test. Keep contact time short and rinse thoroughly to avoid a slick residue that can foul your needle.
Steam and press with a cloth
Hover a steam iron over the wrong side with a pressing cloth in place first. Then press lightly to relax fibers without flattening the Aida texture you need for accurate cross stitch.
Hand kneading and drape conditioning
Work the dry fabric gently like dough to break up sizing mechanically. Move from center to edges to prevent bias and preserve the grid for precise stitch placement.
Spray bottle plus rolling method
Mist targeted areas lightly, roll the fabric around a clean tube, and wait a few minutes. Unroll and compare drape, repeating until the feel is right for your project.
Test swatches and colorfast checks
Always check a scrap first. Dab a white cotton cloth on damp fabric to spot any dye transfer. If dye moves, stick to dry methods so your embroidery floss and colors stay safe.
- Tip: Make sure the fabric is fully dry before hooping to protect threads and prevent mildew.
- Needle choice: After softening, try a slightly larger eye to reduce needle drag and help your thread glide.
CROSS STITCH Supplies That Help: Choosing Fabric, Hoops, Needles, and Floss
Match your materials to a softened ground to keep tension even and threads smooth. The right supplies make working on treated Aida easier and more enjoyable.
Selecting Aida count and cloth type for a softer hand
Pick a medium count like 14–16 ct. These counts usually feel less rigid than higher counts while still giving a clear grid for accurate stitch placement.
Hoops vs frames: maintaining tension on softened fabric
Use a well-fitted hoop or a frame with even side tension. A firm screw or even clamps keeps the cross square and prevents puckering.
Needle size and embroidery floss choices that glide smoothly
Match needle size to your count. Slightly larger needles open holes gently on softened fabric so floss glides without fraying.
Six-strand cotton floss separates cleanly; test two strands on 14 ct for coverage and adjust by count.
Starter kits and stitch supplies for beginners
Starter kits are useful because they include pre-sorted threads and quality fabric. Customers of Caterpillar Cross Stitch praised clear patterns, enough thread, and relaxed, supportive community feedback.
“The kit arrived with high-quality supplies and ample thread — perfect for learners and hobbyists.”
- Tip: Remove the hoop between sessions and use a clean barrier to reduce marks on softened Aida.
- Tip: Keep needle minders and sharp snips handy to limit handling and protect your fabric.
| Item | Recommendation | Why it helps |
|---|---|---|
| Aida count | 14–16 ct | Softer hand, clear grid for accurate work |
| Hoop/frame | Firm screw or even tension frame | Keeps fabric square without puckers |
| Needle & floss | Slightly larger needle; 2 strands on 14 ct | Reduces drag, smooth glide, good coverage |
| Kits & extras | Starter kits with fabric, pre-sorted threads | Easy start; extra thread for looser tension |
Where to Shop: Fabrics, Kits, and Patterns to Match Your Softness Preference
Find shops and kits that match how soft you like your fabric so your next project feels right in hand.
Browse organized categories at project-focused stores: Cross Stitch Patterns, Cross Stitch Kits, Stamped Kits & Stitchables, Downloadable Patterns, and Cross Stitch Supplies. Use filters for cloth count, cloth type, and notion type to find fabrics that react well to your chosen softening method.
Time purchases around highlighted sale sections like Kits on Sale and Patterns on Sale. Check new releases (e.g., New Patterns 11/14/2025, New Kits 11/11/2025) to try fresh designs on softened fabric.
- Pick modern kits with clear patterns and extra thread so you can soften fabric without losing key colors.
- Choose stitch kits that include hoops or frames if you plan heavier softening.
- Keep a spare pattern to compare drape and coverage before a large commitment.
| Category | Why it helps | Example filter |
|---|---|---|
| Cross Stitch Kits | Complete supplies for testing hand | Cloth Count |
| Downloadable Patterns | Quick test pieces, low cost | PDF or Paper |
| Supplies | Targeted fabrics, floss, hoops | Manufacturer |
“Shop smart: sample fabric, watch sales, and pick kits with extra thread to protect your color choices.”
Softening and Technique: Counting Accuracy, Tension, and Finishing
When the cloth relaxes, a few simple steps prevent shifts in your pattern and count.
Maintain tension, hoop grip, and needle choice
Re-tension your hoop or frame lightly after softening. The fabric will give more and the grid can shift. Tighten evenly to keep your crosses square.
Pick a needle one size up if the cloth feels more pliable. A slightly larger eye opens holes gently and keeps stitch legs smooth.
Check count, thread coverage, and pattern clarity
Grid or use counting pins before long diagonals so softened edges don’t stretch your count. Work a small motif in a corner to test coverage.
If coverage looks thin, add a strand or relax your tension slightly for fuller fills. Step back a few feet to check pattern clarity and lighting on your designs.
Finishing and storage tips
Anchor starts with loop methods and weave-in finishes because softer cloth can loosen tails. After blocking, press from the back through a cloth to set stitches without flattening texture.
Measure again before framing or sewing your project. Remove the hoop between sessions to avoid permanent marks.
| Action | When | Why it helps |
|---|---|---|
| Re-tension hoop | After softening | Keeps grid and count accurate |
| Needle size change | Before large areas | Reduces drag; smooth stitch legs |
| Test motif | Edge or scrap | Checks coverage and pattern clarity |
| Press from back | After blocking | Sets stitches; removes hoop marks |
Care, Storage, and Project Readiness After Softening
After softening, proper care keeps your fabric supple and your work neat. Follow simple steps to protect color, texture, and tension so your next project is ready when you are.

Washing and drying tips to preserve softness and structure
Wash gently in cool water with a tiny amount of mild detergent. Roll the wet piece in a clean towel to press out water—do not twist; it preserves thread and weave.
Dry flat on a lint-free surface. Press from the back through a cloth to set stitches and avoid shine. Test floss and threads on a scrap first; if dye transfers, skip soaking and use surface cleaning only.
Flat storage, project bags, and keeping your work ready
Store pieces flat or roll around an acid-free tube. Never fold softened fabric; creases can set and harm the texture needed for accurate cross stitch.
Use project bags with compartments for floss, needles, and small items. Label works-in-progress versus finished gift pieces and cards so you don’t mix threads or lose count notes.
- Cover frames when idle and wash hands before stitching to reduce lint.
- Refresh with a light steam before framing, then cool fully so stitches stay tall.
- Rotate and replace dull needles; a smooth needle keeps your stitching glide steady.
- Keep a short shop list of spare floss bobbins, fresh needles, and basic repair items to jump back into a project quickly.
| Action | When | Why |
|---|---|---|
| Gentle wash | After finishing | Preserves softness and threads |
| Roll or flat store | Long term | Prevents creases and grid distortion |
| Project bag | Every session | Protects edges and keeps items organized |
Conclusion
Wrap up your prep with a quick checklist so every project starts smooth and stays tidy.
Test a swatch first: confirm count and colorfastness, then match needle and floss so your embroidery flows and the needle glides.
Shop for kits and patterns that include extra thread and clear instructions. Watch a weekend sale to stretch your budget and pick up spare supplies like a hoop and fresh thread.
Compare cross stitch kits and stitch kits to find the best fabric and pattern fit. Set a small goal to get started, practice on downloadable patterns, and keep this guide as a quick checklist from pre-wash to final press.