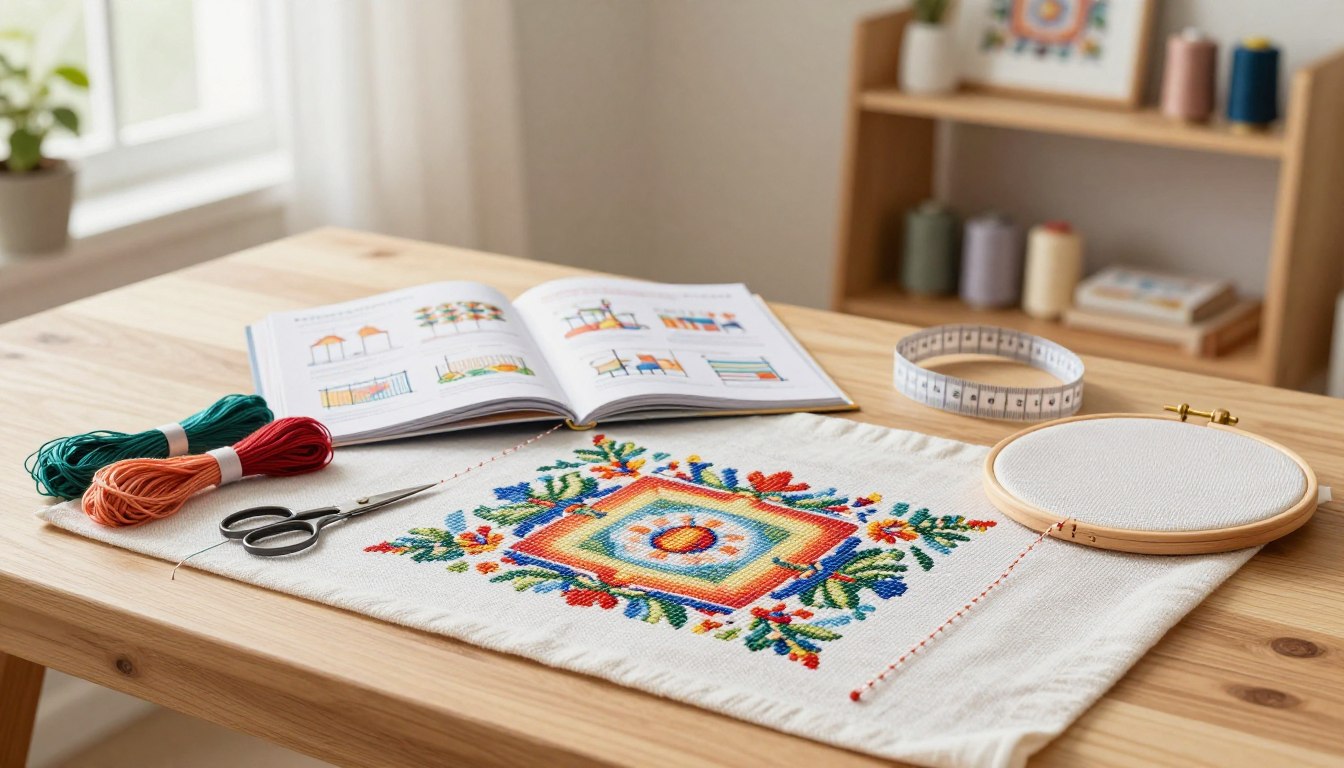
Cross stitch is a type of embroidery that uses X-shaped stitches on fabric like Aida or linen. It’s easy to learn and many start with kits or buy fabric, DMC floss, and tools. You can choose from classic designs to modern patterns, so there’s something for everyone.
Finding the fabric’s center is a key first step. This, along with using a hoop and securing your thread, is common advice. It helps keep your design neat and centered.
Many find cross stitch calming. Starting with simple kits and projects helps build skills and confidence. Using good supplies from places like LoveCrafts or Etsy can make a big difference.
This guide will cover the basics: tools, techniques, planning, and common mistakes. With clear tips and a step-by-step guide, you can finish your first project with confidence.
Key Takeaways
- Cross stitch is counted thread embroidery using X-shaped stitches on Aida or linen.
- Begin by finding the center of fabric and pattern to keep your design balanced.
- Start with beginner cross stitch kits to build skills and confidence.
- Quality materials like DMC floss and reliable suppliers improve results.
- Follow simple cross stitch tips and tutorials to avoid common mistakes.
Getting Started: What Is Cross Stitch and Why You’ll Love It

Cross stitch is a type of embroidery where you stitch small X’s on fabric. These X’s fill a grid, and charts guide you. They show where each X goes and what color to use.
You start stitching from the center of the chart. This makes sure your design looks right on the fabric.
Counted cross stitch has a long history, starting with folk textiles. It has evolved into the modern patterns we see today. Learning it opens up a world of needle arts.
Definition and history of counted cross stitch
Counted cross stitch comes from early Europe and the Middle East. Artisans used simple grids to create patterns. Today, we use even-weave cloth like Aida for each stitch.
Modern charts let us make detailed scenes and tiny designs. This is thanks to the tradition of using repeating motifs.
Benefits of cross stitch for beginners — therapy, creativity, and slow craft
Stitching stitch by stitch lets you see your work grow. Many find it calming and helps them focus. It’s a slow craft that’s perfect for any time.
This hobby is easy to start and doesn’t cost much. You can make designs for gifts or home decor. It’s a great way to express your creativity.
Why start with kits and beginner-friendly patterns
Kits make starting easy by including everything you need. They help beginners avoid mistakes. Starter kits use larger fabric so you can see your stitches well.
Start with basic tips: find the fabric center, use the right number of floss strands, and use a hoop. Secure thread by stitching over the end, not tying knots. Good places to find supplies include DMC, LoveCrafts, and Etsy.
Essential Cross Stitch Tools and Materials for Your First Project
Before starting your first project, make sure you have the right tools. Choose fabric that feels comfortable, pick reliable threads, and get tools that protect your hands and eyes. Investing in quality tools will help you work faster and make fewer mistakes.
Choosing fabric: Aida, linen, and counted options
Aida and linen are top picks for beginners. Aida comes in counts like 8, 10, 14, and 16. Lower counts have bigger holes, making them easier for beginners.
A 14-count Aida is a good choice for beginners. It offers a balance of clarity and detail.
Colored Aida adds a creative touch, and dissolvable Aida lets you stitch on clothes that can be washed. To prevent fraying, use a zig-zag stitch, a serger, or masking tape.
Selecting thread: DMC floss, strand count, and conditioning
Choose DMC floss for consistent color and smooth fibers. Floss comes in six strands; use 1–3 strands based on fabric count and desired coverage.
Cut thread to 18 inches to avoid tangles. Condition strands gently and separate them slowly. For variegated floss, use secure over tail starts to keep color transitions clean.
Needles, hoops, frames, and ergonomic tools
Use tapestry needles with blunt tips sized for your fabric count. Hoops and frames keep fabric taut; avoid over-tightening to prevent distortion. Ergonomic aids like magnetic needles, needle minders, or a table stand reduce fatigue.
Organization and extras: gridding, storage, and lighting
Good organization saves time. Use labeled floss cards, plastic bobbins, and storage boxes to keep skeins tidy. Grid your fabric with washable pens or thread to reduce counting errors.
Bright lighting and a magnifier protect your eyes. Use spreadsheets to plan custom designs. Tools like Pic2Pat or photo-stitch programs convert photos into patterns for personal touches.
| Item | Why it matters | Beginner recommendation |
|---|---|---|
| Cross stitch fabric | Foundation of the design; affects stitch size and detail | 14-count Aida for balance of ease and clarity |
| Aida vs linen | Texture and hole visibility; linen gives a classic finish | Aida to learn; try linen for advanced or textured looks |
| DMC floss | Colorfast, smooth, predictable coverage | Use DMC six-strand floss; 2 strands on 14-count Aida |
| Needles & hoops | Comfort and tension control affect stitch quality | Tapestry needles and an embroidery hoop or cross stitch frames |
| Cross stitch tools | Ergonomic tools speed work and reduce strain | Needle minder, magnetic needle, table stand |
| Cross stitch gridding | Reduces counting mistakes and makes large charts manageable | Washable marking pen or basting thread grid |
| Cross stitch organization | Prevents lost threads and keeps colors sorted | Bobbins, labeled floss cards, and storage boxes |
| Extras | Lighting and pattern tools improve accuracy | Daylight lamp and magnifier; Excel for color planning |
CROSS STITCH Fundamentals: Reading Patterns, Marking, and Stitching Techniques
Before starting, get familiar with cross stitch patterns and the chart that guides every stitch. A chart is a grid where each square represents one fabric hole. Symbols or colored squares match a legend that lists floss numbers. Learning how to read a cross stitch chart helps you find the center, plan color blocks, and avoid counting errors.

To find the center of your fabric, fold it lengthwise and widthwise and press a light crease. Match the creased center to the chart arrows or center mark. Start at the center so your design sits properly. Begin with a large block of color near center for quick progress.
Basic cross stitch techniques start with the full cross: two diagonal half stitches that form an X. Work rows of first slanted halves, then return to complete the opposing halves to keep even tension. Use half stitches for texture and shading. Fractional stitches like quarter and three-quarter stitches add fine detail; follow the symbols on the chart for precise placement.
Backstitching techniques bring outlines and details into focus after the crosses are done. Use a single strand of floss or the number recommended on the pattern to keep lines crisp. Stitch slowly around curves and corners to avoid bulging the fabric.
Start and end thread without knots to keep the back tidy. One way to start is to leave a one-inch tail and stitch over it in the first row of stitches. To end, run the needle under at least three existing stitches on the back before trimming close. For variegated floss, avoid loop-start methods that alter color transitions; secure tails as described in trusted tutorials and videos.
Common beginner cross stitch mistakes include uneven tension, long thread jumps, and counting errors. Aim for flat stitches that lie snugly on the fabric without pulling. Avoid long jumps across open fabric; end and restart threads in distant areas to prevent show-through and tangles.
Check your work often against the chart to catch counting errors early. Buy all floss for the project at once to prevent dye-lot mismatches. Let your needle and thread hang briefly to untwist the floss. When stitching rows, avoid reusing the same hole repeatedly; work first slanted halves across a row, then return to complete crosses. These small habits reduce wear on fabric and keep your piece neat.
| Topic | Quick Tip | Why It Helps |
|---|---|---|
| Finding Center | Fold fabric twice to mark center | Ensures design sits correctly on fabric |
| Reading Charts | Match symbols to legend before stitching | Prevents color mix-ups and counting errors |
| Full & Half Stitches | Work first slanted halves across row | Keeps tension even and holes intact |
| Backstitching Techniques | Add outlines after crosses are complete | Defines shapes and improves contrast |
| Starting/Ending Threads | Secure tails under three stitches, no knots | Neat back and avoids bulk under work |
| Common Cross Stitch Mistakes | Check chart often; avoid long thread jumps | Reduces rework and preserves fabric |
Project Planning, Tips, and Creative Ideas to Keep You Engaged
Start with a short plan to keep your work fun and focused. Pick small, simple motifs with few color changes. Animals, flowers, and single-word samplers make great first pieces and build confidence fast. Choose beginner-friendly cross stitch projects that use larger Aida counts or bold color blocks.
Choosing the right first project
Limit the palette to five or fewer shades when you begin. Avoid heavy shading and tiny fractional stitches on your first try. Look for cross stitch patterns labeled “beginner” or choose kits from DMC or Aunt Martha to get reliable floss counts and clear charts.
Preparing fabric and preventing fraying
Secure fabric edges before you cut. Use a zig-zag stitch on a sewing machine, fray-check, or masking tape to stop unraveling. Find the center by folding twice or placing a pin at the midpoint, then mark it lightly with a water-soluble pen.
Color selection and modifying palettes
Follow recommended color lists but tweak them to match your home or the recipient’s taste. Add a single metallic thread like DMC Light Effects for a subtle highlight. Try colored Aida for dramatic backgrounds when it suits the design.
Organizing your workflow
Grid your fabric to simplify counting and cut mistakes. Use labeled bobbins or a storage box to keep floss sorted. Limit thread length to about 18 inches to reduce tangles and use the knees trick or the loop start to manage strands without knots.
Using spreadsheets and tools
Build simple pattern drafts in Excel with square cells and color-fill to test palettes. Turn photos into patterns using conversion tools if you want personalized designs. Keep a running list of symbols and floss numbers for quick reference.
Finishing options and display
Secure loose strands on the back and trim neatly for clean cross stitch finishing. For casual display, use bamboo hoops; for gifts invest in quality cross stitch frames or mats. Consider table stands for seasonal pieces or framed sayings for wall art.
| Project Type | Recommended Fabric | Typical Colors | Best Finish |
|---|---|---|---|
| Single-word sampler | 14 or 16-count Aida | 2–4 contrasting shades | Bamboo hoop or simple frame |
| Small animal motif | 14-count Aida or 11-count for bold look | 3–6 natural tones | Mat and cross stitch frames for gifting |
| Floral sprig | 16–18-count Aida or linen | 4–8 blended hues | Float mount in a narrow frame |
| Ornament | 14-count Aida or small evenweave | 2–5 seasonal colors | Stuffed backing or small hoop with ribbon |
Use these tips to stay organized and enjoy the process. Good planning and basic embroidery hacks will keep you stitching longer and help your projects look their best.
Conclusion
Counted cross stitch is easy to learn, one step at a time. Start with a kit or low-count Aida fabric. Choose reliable DMC thread and get basic tools like a needle, hoop, and good lighting.
Practice the main techniques: read the chart, find the center, keep even tension, and secure thread tails without knots. Use videos to help with centering, hooping, and thread length. They also show how to avoid mistakes like starting wrong or using too long threads.
Keep tips in mind: grid your fabric when needed, work in comfy sessions, and organize thread by color. As you get better, try colored Aida, metallic threads, and custom patterns. With patience and planning, your first project will be fun and set you up for more.