Ever wondered how a simple needle and thread can turn a piece of fabric into art? It feels both old and new at the same time.
Hand embroidery is an ancient craft you can do at home. You just need a needle, a hoop, and your imagination. You’ll learn how to start with DIY embroidery. This includes tips like preparing your floss and threading needles for smooth stitching.
This article will guide you from basic stitches to more complex ones. You’ll learn about preparing your hoop and fabric, transferring patterns, and adding the final touches. You’ll also see how embroidery can calm your mind and help you create beautiful designs.
Many modern makers are inspired by experts like Juliana Mota and Kseniia Guseva. They show how traditional stitching meets today’s designs. By the end, you’ll see that a few key techniques and practice are all you need to make stunning work.
Key Takeaways
- Hand embroidery is an affordable, beginner-friendly craft you can learn at home.
- Start with basic tools: needle, 18-inch floss, hoop, and fabric.
- Follow simple prep steps to avoid frustration while threading and stitching.
- Embroidery patterns range from patches to mixed-media art—adaptable to your style.
- Stitching offers creative rewards and acts as a form of embroidery therapy.
History and evolution of hand embroidery
Embroidery has traveled far and wide over time. It began with small stitches in homes and grew into large public works. The Silk Road played a key role in spreading materials, designs, and techniques across China, Persia, India, and Europe.
Origins and cultural influences
Early embroidery was used for rituals, status, and telling stories. The Bayeux Tapestry is a great example of this. It recorded history and honored leaders.
Silk, metallic threads, and dyed wool were key to embroidery’s spread. They came from the Silk Road, influencing colors and designs in different regions.
Different cultures have their own embroidery styles. You can see unique stitches and patterns in Persian, Indian, Chinese, and European work. These often feature plants, animals, and religious symbols.
From public display to personal craft
For a long time, embroidery was used to make public statements. It adorned clothes, banners, and ceremonial cloths. But, with the Industrial Revolution, things changed.
The Jacquard loom and early machines made mass production possible. This led to mechanized embroidery, changing the craft’s scale.
As factories grew, hand embroidery moved back into homes and studios. Today, you see more personal and intimate pieces. These include samplers, linens, and wearable art.
Contemporary revival and modern embroidery trends
Today, embroidery is experiencing a big comeback. Social media and workshops are sharing new ideas. Creators are experimenting with texture, color, and mixed media.
Machine embroidery is used for speed and efficiency. But hand-stitched pieces are prized for their uniqueness and feel. This mix keeps embroidery fresh in art, fashion, and everyday life.
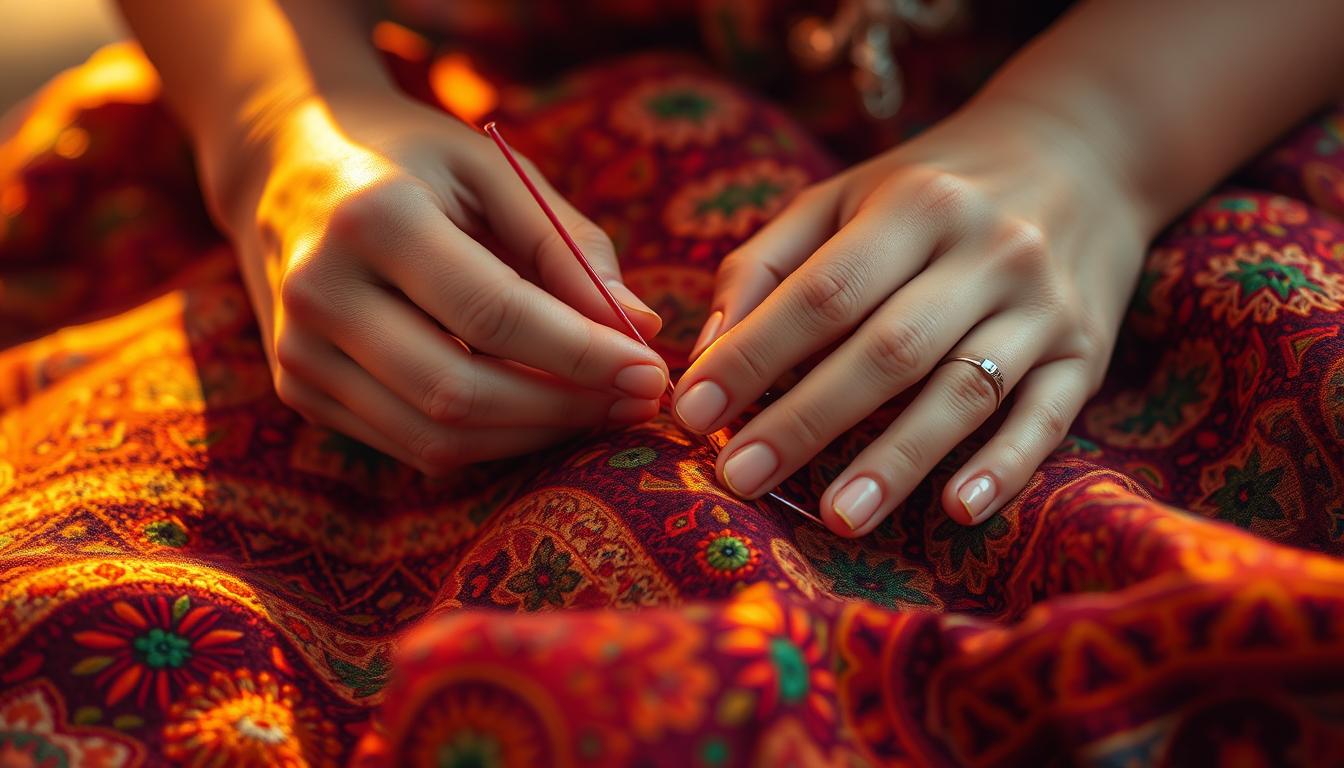
Essential tools and materials for hand embroidery
Before starting, get the basic embroidery tools. They make your projects easier and more fun. Good supplies help you learn faster, keep your stitches even, and protect your fabric. Here’s what you need and why.

Needles, threads, and fabrics
Choose needles that fit your thread and fabric. Needles in sizes 7 to 10 are great for beginners. Use big-eyed needles for thick threads and small ones for thin fabrics.
Embroidery floss is key for many stitches. Stranded cotton works well and can be split for different thicknesses. Pearl cotton and silk add shine and texture. Cut your floss to 18 inches to avoid tangles.
Start with fabrics that are easy to work with. Linen, cotton, and evenweave are good for beginners. Thicker fabrics like denim or canvas are great for detailed stitching.
Hoops, frames, and stabilizers
An embroidery hoop keeps your fabric tight for even stitches. Use a small hoop for small designs and a big frame for larger projects. Tighten the screw slowly to avoid warping.
Stabilizers protect your fabric while stitching. Tear-away stabilizers are good for temporary support. Cut-away stabilizers are strong for stretchy fabrics. Water-soluble stabilizers wash away, perfect for detailed work.
Transfer tools and marking methods
Transfer tools help you put designs on fabric without mess. Carbon copy paper works well on medium-weight fabrics. Water-soluble transfer paper is great for delicate projects because it disappears in water.
Other ways to mark fabric include washable pens, chalk pencils, and lightbox tracing. Choose one that’s easy to remove from your fabric. Keep a small set of marking pens and a water brush for touch-ups.
- Quick tip: Match needle eye size to embroidery floss thickness for smoother threading.
- Quick tip: Test stabilizers on a fabric scrap to choose tear-away, cut-away, or water-soluble stabilizers.
- Quick tip: Use carbon copy paper or water-soluble transfer paper depending on whether you need permanency or easy removal.
Core hand embroidery techniques and stitches
Start with a few reliable moves that cover most projects. Learning basic embroidery stitches gives you tools for outlines, fills, and small motifs. A steady hand and focused practice help you progress without feeling overwhelmed.
Basic stitches every beginner should learn
Begin with satin stitch, stem stitch, French knot, running stitch, backstitch, split stitch, and lazy daisy. These stitches form the backbone of many patterns. They let you create lettering, simple flowers, and neat outlines.
Practice short rows of satin stitch for smooth fills. Use stem stitch for curved lines and stable outlines. Make small clusters of French knot to form centers of flowers or texture points.
Intermediate and decorative stitches
Once you know the basics, add chain stitch, cross stitch, brick stitch, feather stitch, herringbone, woven spider’s wheel, and blanket stitch. Decorative stitches expand your texture options. They let you craft ornate borders and stylized florals.
Combine stitches for hand-embroidered lettering and layered petals. Try a row of chain stitch beside a band of herringbone to create contrast. Use woven spider’s wheel for rosettes that read well at a distance.
Advanced and specialized techniques
Move on to stumpwork, French beading, applique, and mixed-media embroidery that pairs paint, beads, and sequins. These advanced embroidery techniques let you add depth and three-dimensional detail.
Stumpwork shows how a few basic stitches can turn flat cloth into sculpted elements. Add pearls and sequins for highlights. Use appliqué to attach patches or build layered compositions on jackets and tote bags.
Your learning approach should be steady. Aim for a progression from three essential stitches to about a dozen core techniques. This gives practical coverage to stitch nearly any design and makes practice time efficient.
Design, patterns, and project ideas
Start by exploring simple templates to learn how motifs sit on fabric. You can create embroidery patterns from sketches, photos, or grid-based cross-stitch charts. Small motifs help you test thread weight, tension, and spacing before committing to a larger piece.

Creating and adapting embroidery patterns
Trace a favorite drawing onto tracing paper, then simplify lines for stitching. Use a grid to scale designs for hoops or clothing. If you want to create embroidery patterns for mixed fabrics, reduce detail and pick bold outlines that hold up when stitched.
Study tutorials by artists like Ignacia Jullian to learn cross-stitch grids and freehand motifs. Adapt a design for appliqué by marking seam allowances and planning raw-edge or turned-edge finishes.
Project ideas for different skill levels
Begin with a floral sampler, name lettering, or small hoop art. These are ideal for embroidery for beginners and quick wins in DIY embroidery projects.
Move to intermediate work like 3D floral embellishments, beaded accents, and embroidered patches for canvas bags or denim jackets. These boost your skills in texture and layering.
Advance to portrait embroidery, large mixed-media pieces, stumpwork, and appliqué garments. Complex projects teach composition, thread blending, and durable finishing techniques.
How to transfer and prepare a pattern for stitching
Choose a transfer method that fits the fabric: carbon paper for heavier cottons, water-soluble transfer paper for delicate linens, or a lightbox for tracing fine lines. Test transfers on scrap fabric to confirm visibility and erasability.
Fit the fabric into a hoop or frame so it is taut but not overstretched. Mark centerlines and key reference points with erasable pens. For embroidered patches and appliqués, stitch the design, trim fabric close to the stitching, then secure with HeatnBond or hand-stitching when attaching to garments.
| Skill Level | Project Examples | Key Techniques |
|---|---|---|
| Beginner | Floral sampler, name lettering, small hoop art | Backstitch, satin stitch, running stitch; simple templates |
| Intermediate | 3D florals, embroidered patches for bags, hand-lettered pieces | Beading, layered stitches, patch finishing, appliqué basics |
| Advanced | Portrait embroidery, stumpwork, appliqué garments | Thread blending, sculpted stitches, complex transfer and stabilizers |
Benefits, aftercare, and the therapeutic side of stitching
Hand stitching is great for your mind and hands. It improves your fine motor skills and keeps you focused. When you complete a piece, you get to see your hard work come to life.
Stitching is good for your well-being. It helps you relax and be present. Even short sessions can help you build skills.
Joining groups or online forums adds more value. Learning from experts and sharing tips can make your skills better. It also helps you feel less alone.
Embroidery can calm your nerves. Simple stitches create a soothing rhythm. It’s often recommended by therapists to help with stress and dexterity.
Keeping your work in good shape is important. Start by securing thread ends well. Avoid pulling stitches too tight to prevent puckering.
Proper care extends the life of your embroidery. Wash it gently in cool water and dry flat. Ironing should be done with care to protect the threads.
When making wearable items, use the right supports. This prevents distortion. For keepsakes, consider framing or storing in acid-free tissue to preserve them.
Here’s a quick guide to help you choose techniques and care for different goals.
| Goal | Recommended Technique | Aftercare Tip |
|---|---|---|
| Mindful stitching | Repeat small motifs using running stitch or seed stitch | Keep sessions short and dry flat after gentle hand wash |
| Wearable patches | Use stabilizer backing and satin or split stitch for edges | Finish edges with topstitching and machine-sew or use quality adhesive for appliqués |
| Heirloom pieces | Use fine linens and silk threads with careful tension control | Frame under UV glass or store in acid-free boxes; avoid frequent washing |
| Therapeutic practice | Simple geometric patterns that repeat | Set a regular routine and join group sessions for added support |
Conclusion
You’ve learned about hand embroidery’s roots and rhythms. You know which tools and fabrics are best. And you’ve practiced key stitches that are the foundation of many patterns.
Start with a small project. Try stitching a sampler using the 12 essential stitches. This will help you see your progress. Make sure your fabric and hoop are ready, and use carbon paper or water-soluble tools for clean designs.
When you start DIY embroidery projects, focus on both repetition and variety. You can add simple patches to clothes, create framed hoop art, or mix embroidery with fabric painting. Regular practice will make you faster and more skilled. Trying different threads and techniques will also open up new creative possibilities.
Don’t forget the benefits of embroidery. It can improve your focus, fine-motor skills, and even offer a calming, meditative experience. Use online tutorials and step-by-step guides to improve your skills. Then, take care of your work to keep it beautiful.
With these tips, your embroidery practice will become a rewarding craft. It will help you create lasting, beautiful things with your hands.