Ever thought about how a simple thread loop can transform a basic T-shirt into something special? This article dives into what makes embroidery stand out, focusing on chain stitch and the basics for beginners. You’ll discover how chain stitch creates a textured, chain-like pattern with just one thread and no bobbin. This is key for starting with embroidery and DIY projects.
Looking to embroider a small design, learn the basics, or see if chain stitch is for you? This guide covers history, techniques, materials, and tips for beginners. You’ll get clear steps for simple loops, project planning advice, and resources to help you begin with confidence.
Key Takeaways
- Chain stitch creates a distinctive textured surface using a single continuous thread.
- You can learn beginner embroidery techniques like loop starts and detached chain with minimal tools.
- Chain stitch needs no bobbin, which changes machine and hand techniques compared to other stitches.
- Choosing the right thread and stabilizer prevents common problems and improves durability.
- This guide covers history, practical project planning, and where to find learning resources in the United States.
The history and resurgence of chain stitch in modern textiles
Chain stitch has a long history, spanning continents and centuries. It was first seen in Persian and Indian textiles, medieval European church clothes, and Central Asian suzani panels. Chain stitch was used for outlines and textures, not for filling.
This simple stitch is great for smooth lines and calligraphy. It’s perfect for borders, letters, and designs that need continuous motion. Its visible loops make fabrics look lively and different from satin or cross-stitch.
Today, embroidery is back in style, thanks to chain stitch. Streetwear and indie makers love its hand-made feel. You’ll see it on patches, denim, and special edition items because it looks bold and artisanal.
Chain stitch is perfect for small-batch items and patches. It keeps edges sharp and feels tactile. This makes it ideal for patches that look like they were drawn, not printed.
For beginners, chain stitch is easy and fun. You can learn to control loops quickly. Start with simple designs and move to more complex ones as you get better.
Layne Stitch, in Texas, shows how chain stitch works in modern business. Michael Layne Pearson started in 2020 with a chain stitch machine. He uses thick threads for a bold look. His designs start as sketches or digital drafts, then get worked on by hand.
At Layne Stitch, they use special prep steps. They use stabilizers to keep the fabric firm for the stitch. This helps keep lines straight while making custom patches and clothes.
Knowing about chain stitch’s history and its comeback helps with your projects. Whether making DIY gifts or starting a small business, its unique look can help you stand out.
What makes chain stitch technically unique compared to other simple stitches
The chain stitch is special because it creates texture with loops, not just threads. This makes a raised, chain-like surface that looks like a line drawing on fabric. You can see and feel the links, giving designs a bold, handcrafted look.
Here are some key differences to help you pick the right stitch for your project.
- Continuous loop structure: Each loop connects to the next, making a visible chain on the fabric. This contrasts with satin and fill stitches that lie flat.
- Single-thread mechanics: Machine chain stitch uses one thread that loops back on itself. There is no bobbin, so tension and thread choice matter more than with multi-thread systems.
- Textural outcome: The looped surface adds depth, which works well for bold outlines, lettering, and patches.
The machine chain stitch often feels like drawing because many machines let you crank or move the hoop by hand. This gives you steady, repetitive loops and consistent line weight. You can produce multiple identical patches with relative speed and less setup.
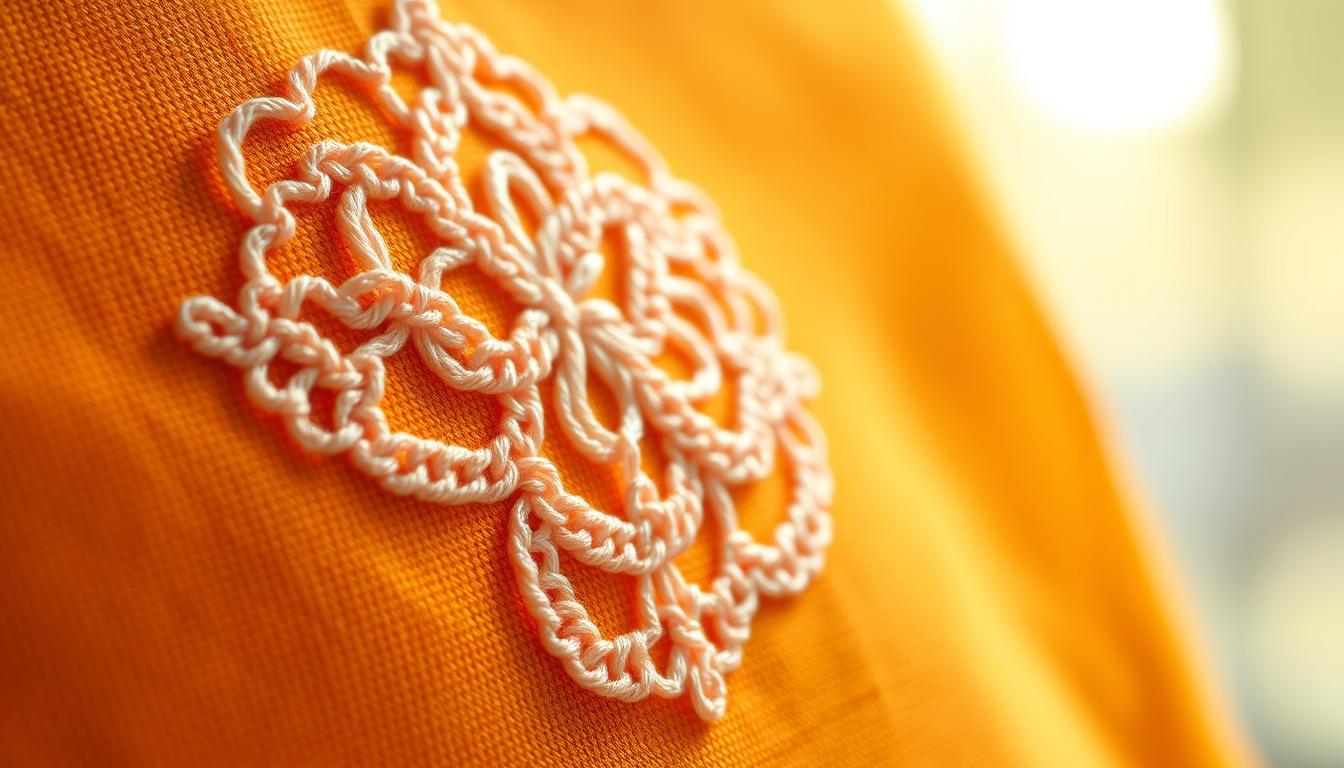
When you work by hand, detached chain stitch gives you more control over single motifs. This hand chain approach lets you form petals, small rosettes, and isolated loops that don’t need continuous linking. You gain versatility for delicate, floral work within simple stitches.
Performance and limits depend on materials and technique.
- Advantages: Efficient use of a single thread, distinct texture, and a strong handmade aesthetic that stands out on apparel and patches.
- Limitations: No bobbin makes loop tension sensitive. Cheap thread raises the risk of breakage. Learning to steer a chain-specific machine differs from using standard multi-needle machines.
Plan your supplies and practice to move between methods smoothly. Adapting thread weight, stabilizer choice, and needle size will help you match the loop size and tension needed for each design. With a few trials, you can switch from machine chain stitch to detached chain stitch by hand without losing the look you want.
Embroidery materials that matter: threads, stabilizers, and tools
Choosing the right supplies is key to how your chain stitch projects look and last. Pick materials that match the texture and wear you want. This guide helps you choose thread, stabilizer, and tools for crisp, lasting work.
Thread choices for texture and durability
Chain stitch looks best with heavier threads. Accent thread offers bold, glossy lines. Spagetti thread adds strong, chunky texture for patches and bold lettering. GlaMore has a satiny finish that catches light while staying sturdy.
For hand embroidery, DMC six-strand floss works if you fold or combine strands to match thickness.
Why high-quality thread prevents common problems
Cheap thread can snap, fray, or cause uneven tension. Using trusted brands reduces skipped loops and breakage. The best thread for embroidery makes troubleshooting easier. Your machine or hand technique performs more consistently, and final pieces look more professional.
Stabilizers and preparation
Chain stitch needs a firm base. Start by tracing or transferring the design onto a top-side stabilizer. Add a back layer to form a sandwich that supports loop formation and stops puckering. Choose a stabilizer for embroidery that matches fabric weight and stitch density.
Hooping and tension
Proper hooping locks the stabilizer and fabric together. Check that the sandwich is taut but not stretched. Adjust machine or hand tension so loops sit nicely on the surface without pulling through. Secure setup reduces distortion when you stitch.
Embroidery tools for machine and hand methods
For machine chain stitch, use a dedicated chain stitch machine and keep basic tools on hand: sharp embroidery scissors, tweezers, and spare needles. For handwork, use quality needles, a small hoop, and DMC floss or thicker threads when you need heft. Good embroidery tools speed work and help you keep consistent loop size.
Tips for beginner embroidery
If you are new to chain stitch, start with a simple motif on stable fabric. Test combinations of Accent thread, Spagetti thread, and GlaMore on scraps until you find the look you like. Practice the sandwich method with different stabilizers to see how each affects loop formation.
Choosing the right thread, stabilizer, and tools reduces common mistakes and brings a crafted, durable finish to your pieces. With a reliable stabilizer for embroidery and the best thread for embroidery in hand, your projects will read cleaner and last longer.
How chain stitch feels like drawing and why that appeals to creators
Chain stitch connects your hand directly to the fabric. It feels like drawing when you use a manual machine or hoop. You create lines and curves, making it look like embroidery drawn live.

Using manual machines, you control every stitch. You turn a crank or move the hoop by hand. This lets you shape your design like a real artist.
Begin by sketching or making a digital drawing. Then, transfer it to fabric. Use a heavy thread to make your lines stand out. This way, your design stays true as you stitch it.
People call these pieces tattoos for clothes because they look so personal. This shows why DIY embroidery is special. It’s for those who love making something unique.
To embroider like this, practice is key. Start with simple designs and play with stitch spacing. Treat each stitch like a pen stroke. This method helps you learn fast and build confidence in your work.
| Step | Action | Purpose |
|---|---|---|
| 1 | Sketch or digital drawing at target size | Set scale and composition for stitching |
| 2 | Print/trace onto top stabilizer | Provide visible guide lines for embroidery drawing |
| 3 | Apply back stabilizer and hoop | Ensure fabric stays flat during drawing with thread |
| 4 | Select heavy thread and needles | Enhance texture and legibility of lines |
| 5 | Use manual machine motion to stitch | Retain hand-crafted feel central to tattoos for clothes |
| 6 | Refine edges and add texture passes | Finish the piece with controlled shading and detail |
Beginner embroidery tips for trying chain stitch and related simple stitches
Start with a short plan to make your practice time useful. Choose a small project and get a basic hand kit. This includes embroidery needles, DMC six-strand floss, an embroidery hoop, sharp scissors, and stabilizers.
If you want to try machine chain stitch, visit a studio first. They can show you a dedicated chain stitch machine before you buy one.
Starter embroidery supplies and easy embroidery recommendations
Use two to four strands of DMC floss for a balanced look. Choose medium-weight stabilizer for most cottons and heavier for thin knits. Keep threads organized in a small organizer to stay focused.
A simple starter embroidery kit can save time and reduce frustration.
Basic embroidery guide: loop start, detached chain stitch, and lazy daisy for florals
Try the loop start method for a neat first stitch. Fold two or more strands to form a loop. Bring the needle up at the start, pass through the loop, then anchor with a small stitch.
This method helps when learning detached chain stitch. Work detached chain stitch carefully for petal shapes. Make a loop on the surface, then secure the tip with a small anchoring stitch.
Repeat and vary loop size to build texture. Use lazy daisy to form simple flowers. Arrange detached chain stitches in a circle and anchor centers with tiny straight stitches.
How to practice: prepping stabilizer, cutting, and simple projects for learning embroidery
Transfer small designs to stabilizer, then sandwich fabric and stabilizer in a hoop. Test tension on scrap pieces. Practice consistent loop size and thread tension on a practice panel before starting a finished piece.
Repeat detached chain stitch rows and lazy daisy motifs until rhythm feels natural. Pick small projects to build confidence. Start with small floral patches, napkin corners, name tags, or practice panels.
These projects teach stitch control without overwhelming you. Use a detached chain stitch tutorial or short video to watch hand motion and needle placement before your first attempt.
Research materials before you buy and practice on scraps. Vary thread thickness and stitch length to learn texture control. A focused routine makes beginner embroidery feel manageable and prepares you for more complex chain stitch work and how to embroider flowers with confidence.
Practical considerations for starting embroidery projects with chain stitch

Before starting, plan your work. Chain stitch uses thicker thread and needs special stabilizer. It also takes more time to do by hand. Good planning helps keep costs low and quality high, whether it’s one piece or many.
Understand the numbers involved. Small shops might take just one piece, while big vendors need 25 or more. This affects how you price and plan your work.
Remember setup and finishing time. Things like design transfers and thread choices take time. For chain stitch, plan more time per piece than for simpler stitches. This is key when you have client work or markets to keep up with.
Use staging to stay productive when you’re not feeling creative. Prepare stabilizer sheets, trace designs, and sort threads. These tasks help you work fast when inspiration hits and reduce downtime.
At events, have a clear offer ready. Show finished items, have photos and an order form for custom work. Be upfront about minimum orders and how long it takes to complete them.
Bring a portable setup for demos. A small chain stitch machine or hand-crank model is eye-catching. It shows the detailed process and can lead to more sales.
Price your work to cover costs. Include time, thread, and any fees for patches. Clear pricing builds trust and protects your profit margins, whether you do it yourself or offer a service.
Plan for growth when thinking about starting an embroidery business. Start with simple projects, track your time, and adjust prices. These steps help you decide when to invest in bigger equipment or partner for more orders.
Learning resources and communities to speed your embroidery journey
Before you buy a machine or stock heavy threads, take time to gather solid embroidery resources. Read reviews of chain stitch machines and note how hand-crank models differ from motorized units. Compare suppliers for brands like WonderFil® and Accent™ so you know which threads suit chain work.
Use focused online lessons to shorten the learning curve when starting embroidery. Video classes show loop-start methods, detached chain stitch steps, and floral motifs in real time. Look for clear how to embroider tutorials that demonstrate tension, needle size, and thread counts so you avoid costly trial-and-error.
Seek a detached chain stitch video that walks through setup, stitch rhythm, and finishing touches. Watching the stitch in motion helps you match hand speed to thread type. Pause and replay tricky sequences until the motion feels natural.
Join embroidery communities to ask supply questions and get machine tips from experienced makers. Active forums, Instagram accounts, and Facebook groups share troubleshooting guides, supplier recommendations, and creative prompts. Following artists such as Michael Layne Pearson (Layne Stitch) gives real-world examples of commercial and art-driven chain stitch work.
Find mentors through local craft schools, maker spaces, or online workshops. A short session with an experienced embroiderer helps you practice loop starts and lazy daisy assemblies with better posture and fewer knots. Mentors often point you to the best embroidery resources for your skill level.
Below is a compact comparison to help you pick the right learning path and tools for starting embroidery effectively.
| Focus | Best for | What you learn |
|---|---|---|
| Video tutorials | Visual learners | How to embroider tutorials, detached chain stitch video, loop starts, tension control |
| Forums and groups | Problem solvers | Supplier tips, machine troubleshooting, community feedback |
| Local classes | Hands-on practice | Posture, needle handling, live mentorship |
| Manufacturer guides | Buyers and technicians | Machine care, accessories, recommended threads |
| Artist followings | Creative inspiration | Design ideas, mixed-media approaches, business uses |
Conclusion
Chain stitch is a standout in embroidery because of its simple loop and single-thread design. It feels like drawing, not sewing. This makes patches and clothes look handcrafted, perfect for jackets, hats, and art.
It’s great for both hand and machine work, as long as you pick the right thread and stabilizer. This makes it very versatile.
For beginners, start with a guide that uses DMC floss and simple projects. Practice on scrap stabilizer and keep projects short. This helps build muscle memory without getting frustrated.
If you want to do more, look into chain stitch machines. Use heavier threads like Accent™, Spagetti™, or GlaMore™ for better texture and durability.
Remember, do your homework and follow experts in chain stitch and mixed media. Use slow times to prepare and get ready for your next project. Whether you’re starting out or making custom items, this guide will help you confidently move forward.